Connecting the negative wires
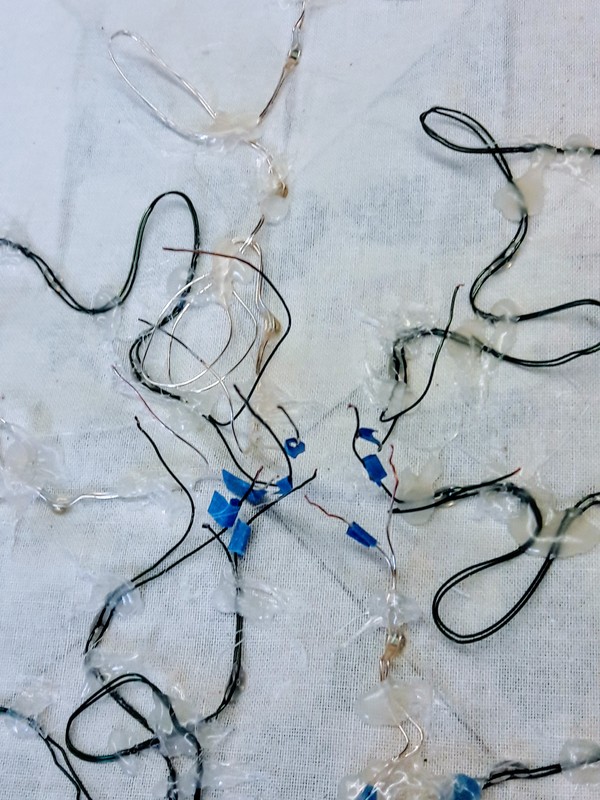
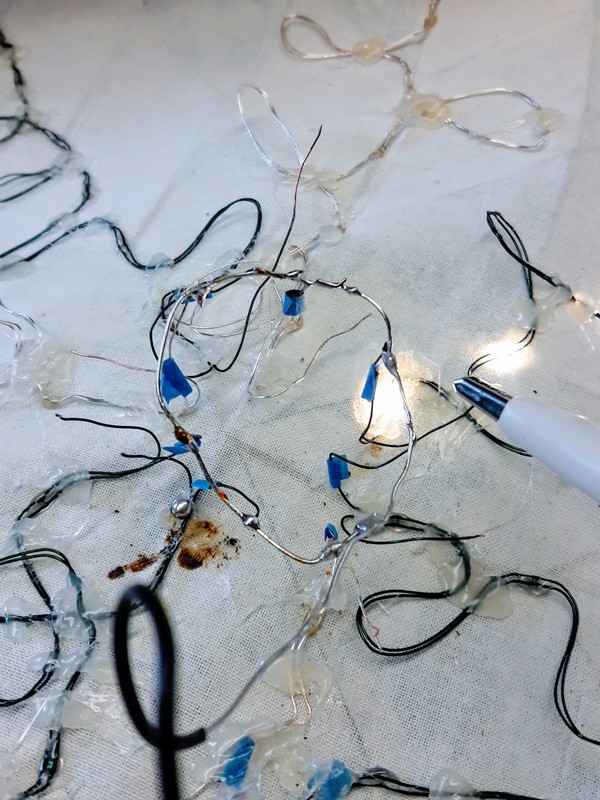
Today I spent most of my time soldering the negative wires together, which required a lot of patience. First, I cut a piece of ground wire. I made a loop with this wire and then placed it on the negative ends, which I marked off earlier with blue tape. I then used lead to solder the the looped wire and each individual negative wire together. After I finally finished doing this, I tested how sturdy the electrical connection was using alligator clips. The quilt wires lit up, so I know my soldering was done well. I then pressed down on the negative loop that I had made very gentle. This made me a little nervous because I was afraid that I would break the connections that I had just soldered. We decided that the loop needed to be flat on the quilt because it would make the electrical connections safer when the quilt is on display. The wires sticking up in the picture below are all of the positive wires. Next time hopefully I will connect everything to the cord I picked out from my last session. 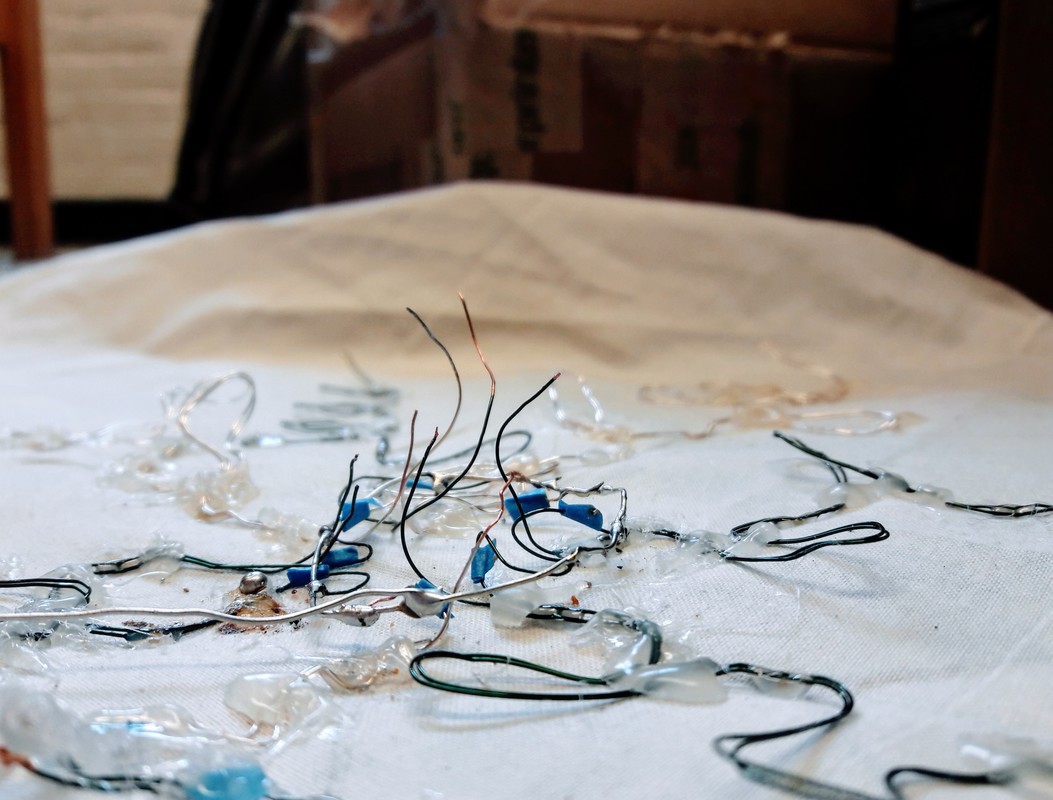
1 Comment
Jon Calos
4/10/2017 11:13:40 am
Congratulations on getting to this delicate stage! I like the image showing the testing. This is an interesting step to illustrate. Fingers crossed on the whole thing working! Leave a Reply. |
Select a page from the header above to learn more about my blog!Kimi. EWS. “The foundation of data gathering is built on asking questions. Never limit the number of hows, whats, wheres, whens, whys and whos, as you are conducting an investigation. A good researcher knows that there will always be more questions than answers.” Categories |
 RSS Feed
