Arduino & Circuits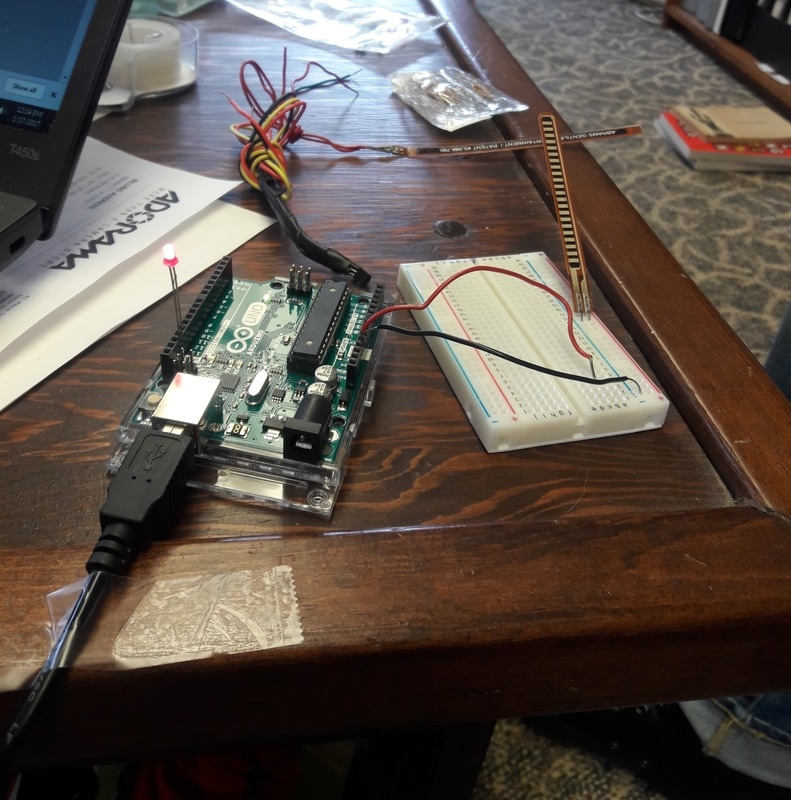
After talking to one of Ron's students, I've decided to try to move my interactive quilt design towards the idea of performance art, (ex. make the quilt wearable and have it light up or respond based on the movement of the person wearing it). His student, like me, is also making an ethnocomputational aesthetic activism piece, but he has a specific focus on the Dominican Republic Carnival celebration.
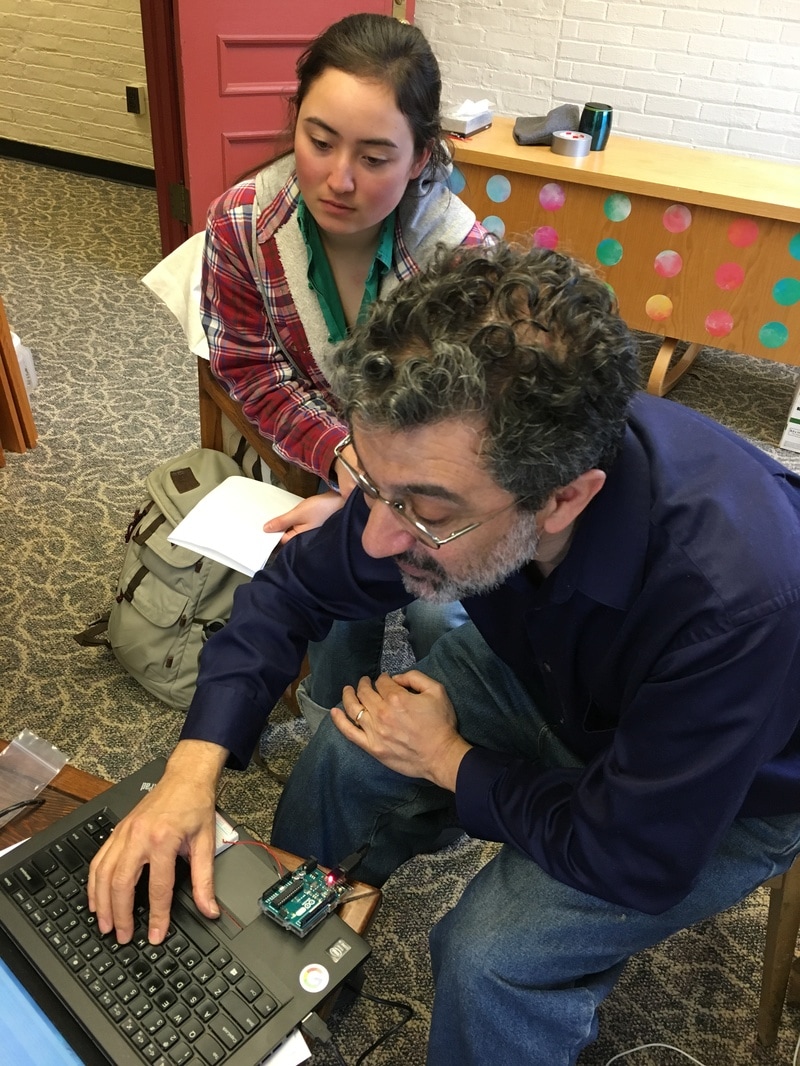
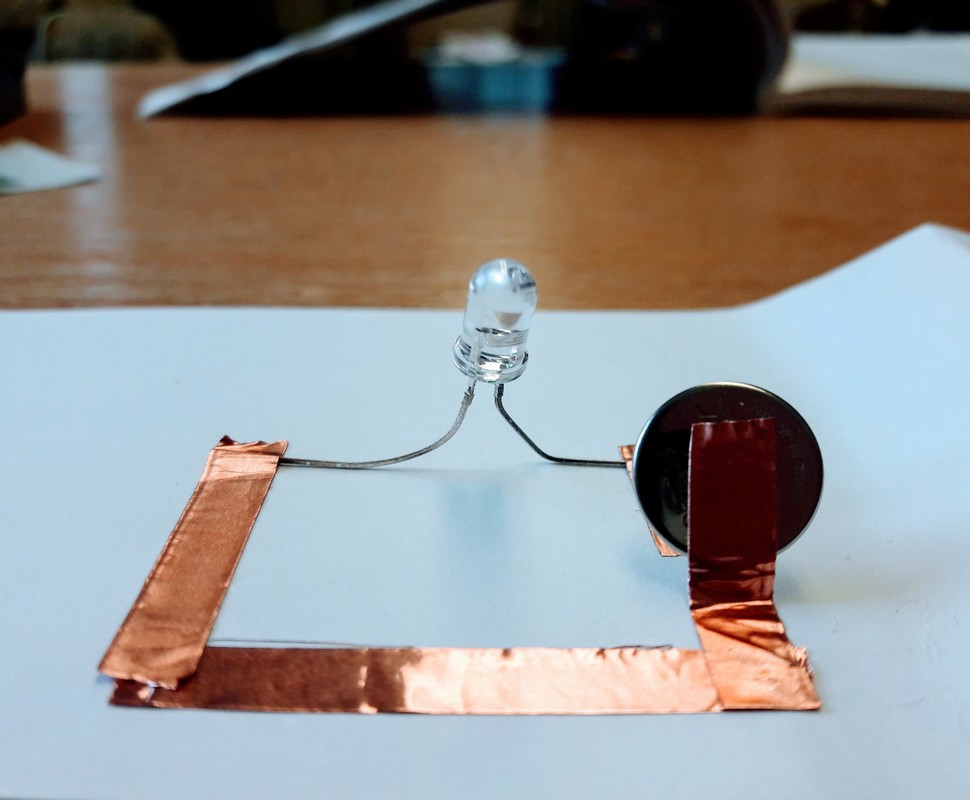
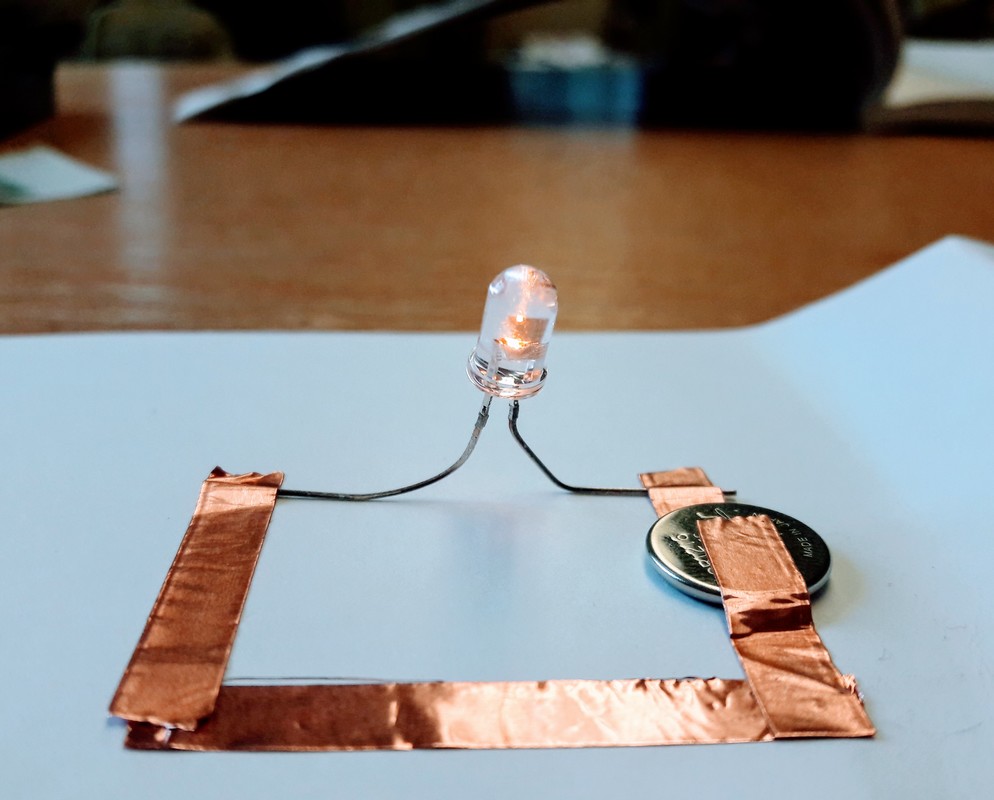
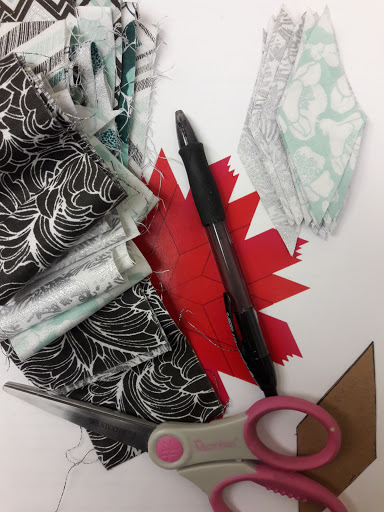
After Ron left I started creating circuits, exploring how I might be able to duplicate the Arduino programming without any software.
Next week I hope to get back to work with the Arduino!
1 Comment
The blog will be on hiatus for the holiday season!
Brainstorming Quilt Interaction!Today I began brainstorming how to make my quilt interactive! Ultimately, my "living" quilt must fall within these guidelines
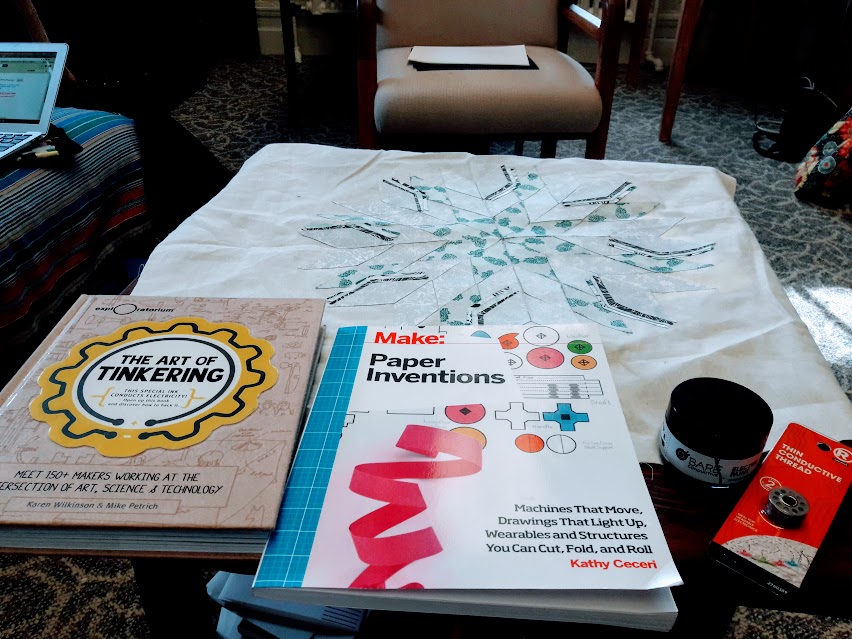 I started off by flipping through two books that Audrey provided me with:
After brainstorming for a little while I came up with a few ideas that I liked.
Prototype ReflectionToday I finished piecing together the prototype with adhesive and began reflecting on the process. The first thing that I would like to note, which I already mentioned in my previous blog post, is how the pieces did not fit together as desired.
I think I should also address how accurately I recreated my original design.
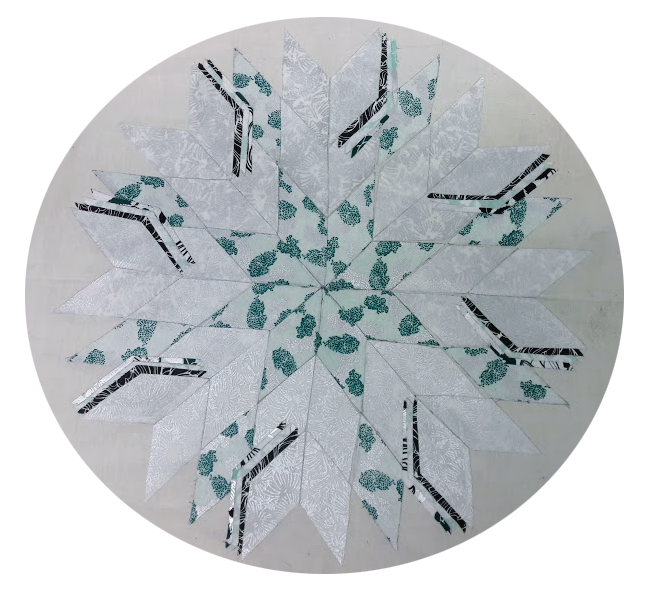
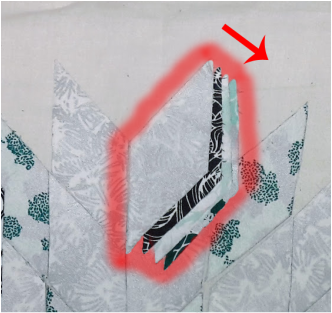
Visually, the two designs are drastically different, however I can confidently attribute the degree of this difference to the color/design of the fabric itself. The original design employs a theme of solid red/warm colors while the prototype design has a floral patterns and cooler colors. This was a conscious choice that I made and so I am not bothered by the difference at all. I appreciate the subtle colors of the final prototype design and think that the floral patterns make the quilt more interesting to look at. In terms of the layout of the fabric pieces, the two designs differ only slightly. In the original design, the fourth ring (the one which involves layering) has the bottom [pink] layer jutting out. In the final prototype design, the bottom layer within the fourth ring is not as prominent. Depending on which point of the star we are looking at, the layers are either at the same level OR the bottom layer is a little more inward (aka it juts out the least). I think this difference in combination with the subtle colors makes the final design more humble and elegant than the original design. Another discrepancy found within the fourth ring is how the layers are splayed out. In the original design the layers flow to the left. In the final design the layers flow to the right.
The colors I chose in the original design were extremely similar. This was intentional. I wanted the colors to nearly blend into each other to create a small gradient. The fabrics I chose for the prototype design were of the same theme, although they did not blend into each other so well. While I was piecing the quilt together, I actually began to worry about the fabrics being too similar. To alleviate this concern I tried to add some contrast. If you look at the visual above, you will notice that in the fourth ring I placed a brown fabric directly below the silver fabric. The contrast between the light and dark added variety to the quilt and made the star points pop a little more. I also intentionally used a defined blue pattern for the first ring to contrast with the wishy washy silver second ring. In spite of the differences between the two designs, I am happy with my final product.
Ironing Together the Prototype
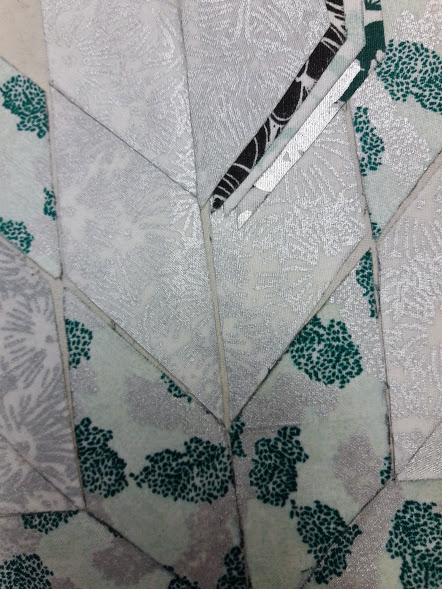
Today I also started gluing together the fourth ring which involves layering pieces of fabric over each other. (You can see parts of the fourth ring on the left hand side of the picture above. They are the pieces that are tightly layered together.) Since these pieces are being layered together, I cut out smaller pieces of adhesive for the bottom layers in an effort to be more resourceful.
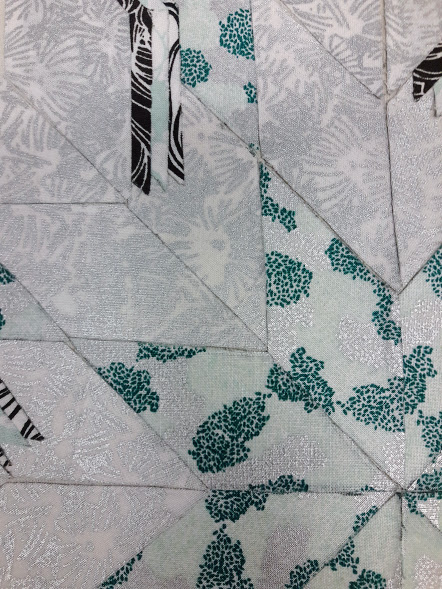
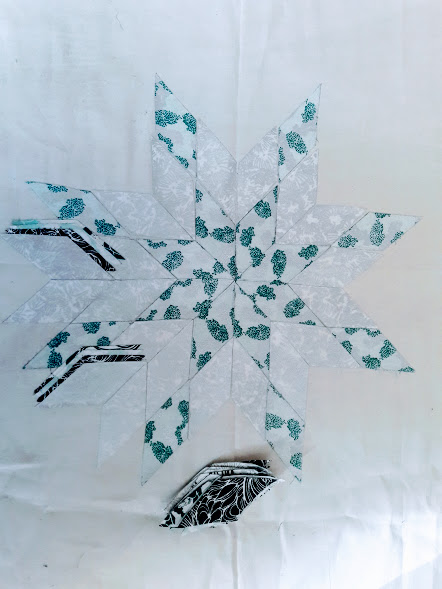
I still have more ironing to do next week! Finishing Cutting & Using Adhesive Today I finally finished cutting out all of the pieces of fabric for my quilt! Pictured above is how the pieces look when assembled all together.
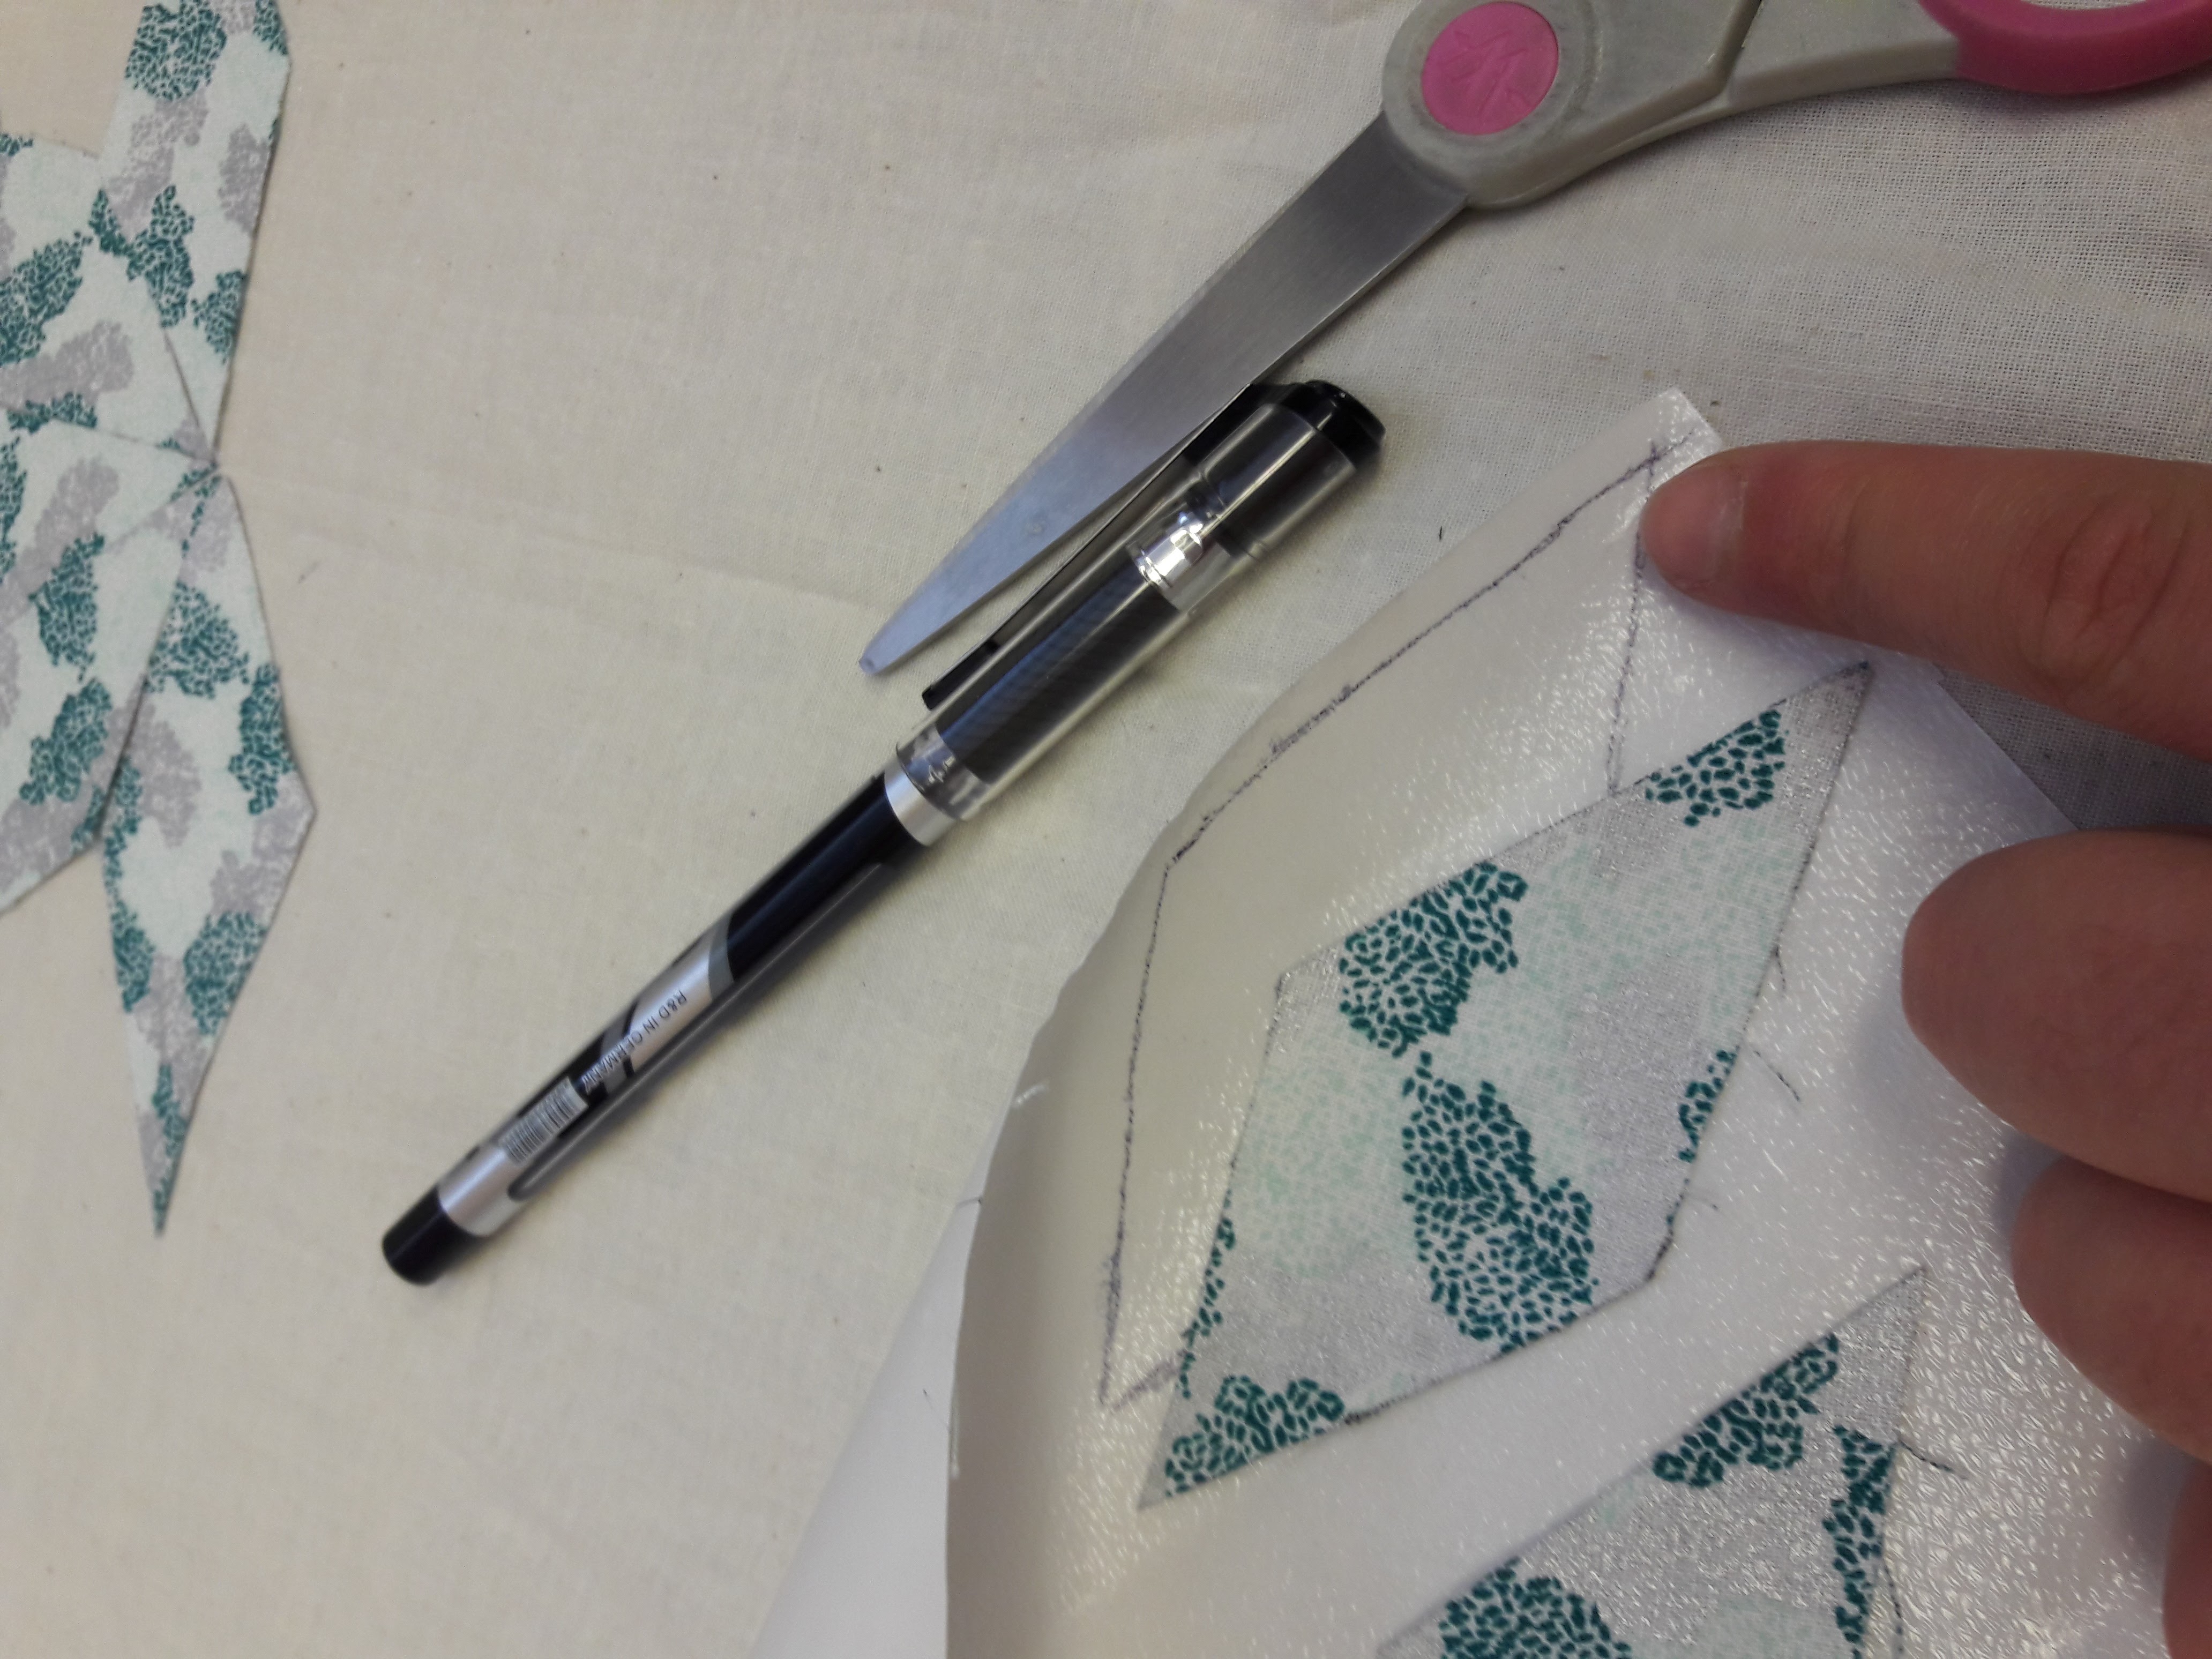
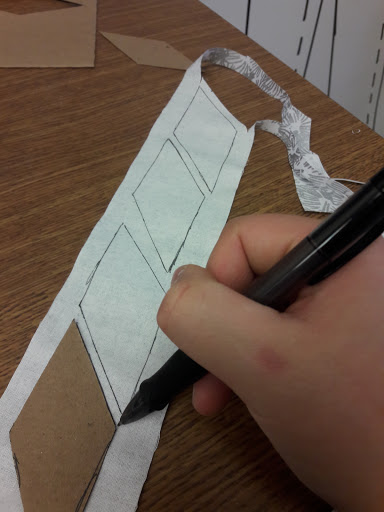
Making the a quilt prototypeToday I continued tracing and cutting out diamonds for my quilt pattern! If everything goes as planned, next week I should be able to finish cutting out all the pieces and will be able to begin putting everything together. 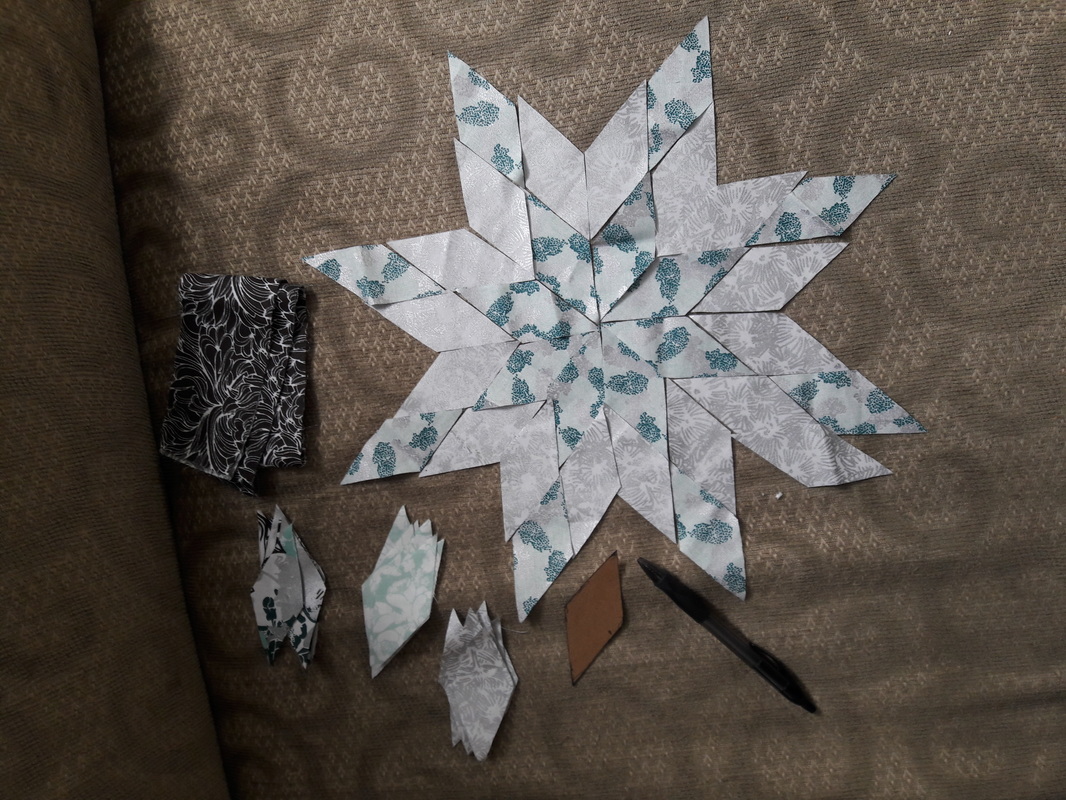 Designing my quiltToday I made another quilt design using the CSDT. For the outermost ring, I alternated a layered color gradient with a solid red point. I like the variety this adds to the design, especially with the shape. I matched the color of the last layer in the gradient to the color of the second ring. Overall, I avoided varying the colors too much in an effort to make the piece more cohesive. 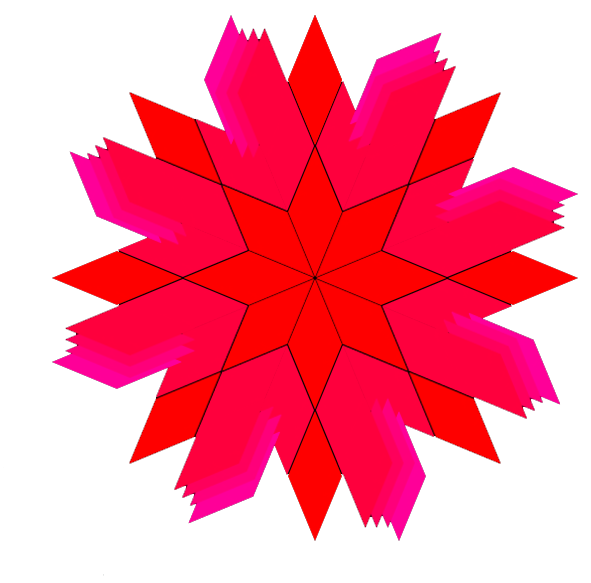
After I made this design, I got to begin crafting a prototype of it! I chose to use blue/brown/silver patterns instead of the original red/pink colors used in my graphic design. For the first step in making the prototype, I needed...
I spent the rest of my time at my internship tracing the template onto my fabric.
Learning how to use the quilting CSDTAfter my brief informational first meeting last week, I was excited to officially start my internship! Today I was introduced to Mackenzie, an undergraduate student who I will be collaborating with. Our research project aims to answer the following question: "How can technological innovation in regard to user interaction further our understanding of the potential of fiber arts to contribute to diversifying STEM." In the simplest of terms, we will be using computer programming to design quilts. Quilting has a strong cultural significance within African American and Native American communities. We picked a quilting culture that interested us and did some brief online research about it. I chose to research the Lakota tribe. They primarily reside in Minnesota, North & South Dakota, Nebraska, and Canada, and are known for their star quilt pattern. Next I began familiarizing myself with the quilting CSDT (Culturally Situated Design Tool). Click here to check it out for yourself! 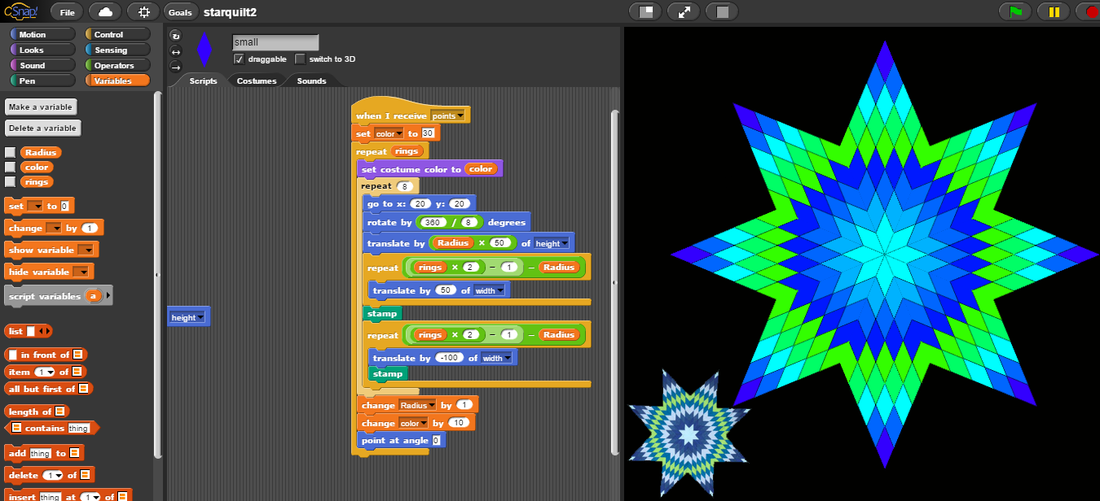 I completed the quilting tutorial. 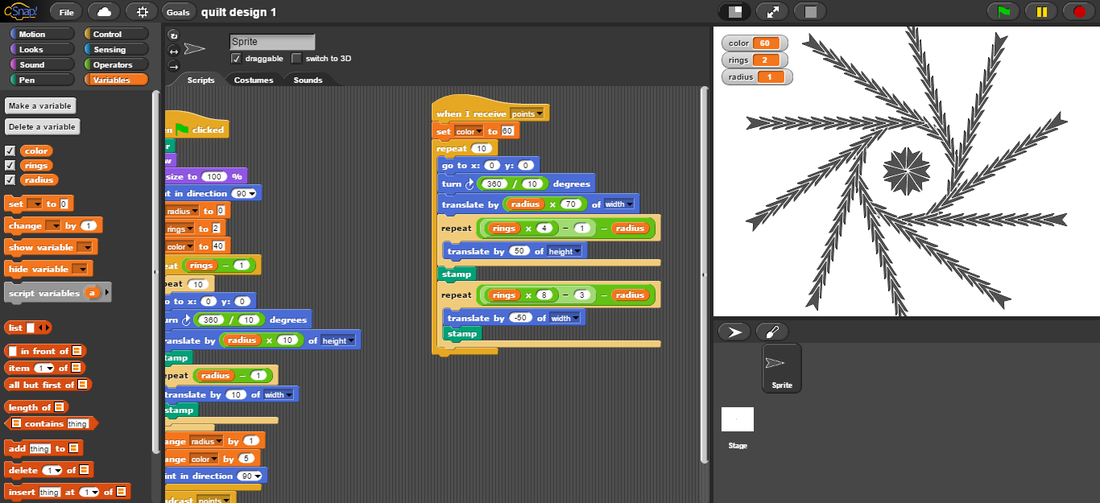 Then I began experimenting from scratch. For this design, I (accidentally!) used a different seed shape, but the design still turned out to be pretty interesting!
At my next meeting I will use the CSDT to make the design for my quilt prototype! September 27, 2016Today was my first internship meeting of the year. We mainly discussed logistics, so our meeting was short and sweet.
My mentor's name is Audrey and I will meet with her every Tuesday from 11:00 to 2:00. In this internship I will learn computational thinking concepts and create cultural art using CSDTs (culturally-situated design tools) and traditional art media. The project will focus on bringing and teaching computer science to underrepresented group through quilting. I am so excited to work with Audrey. The intersection of computer science, art, and social work is right up my alley! |
Select a page from the header above to learn more about my blog!Kimi. EWS. “The foundation of data gathering is built on asking questions. Never limit the number of hows, whats, wheres, whens, whys and whos, as you are conducting an investigation. A good researcher knows that there will always be more questions than answers.” Categories |


 RSS Feed
