|
Well, this is it! I will be graduating in about a week! I have had such an amazing time at my internship and am so grateful to both of my mentors for all of the time and energy they have invested in me and my project! Over the past year, I have learned the powers of interdisciplinary learning. By combining science and art, I was able to broaden the possibilities of my project. As I became more competent in designing my quilt, I grew more excited about coding and vice versa. As far as practical skills go, this year I have learned how to use the quilting CSDT, how to create a quilt prototype, how to solder, and have also gotten an introduction to using an Arduino. I hope I can continue to do work like this in the future!
1 Comment
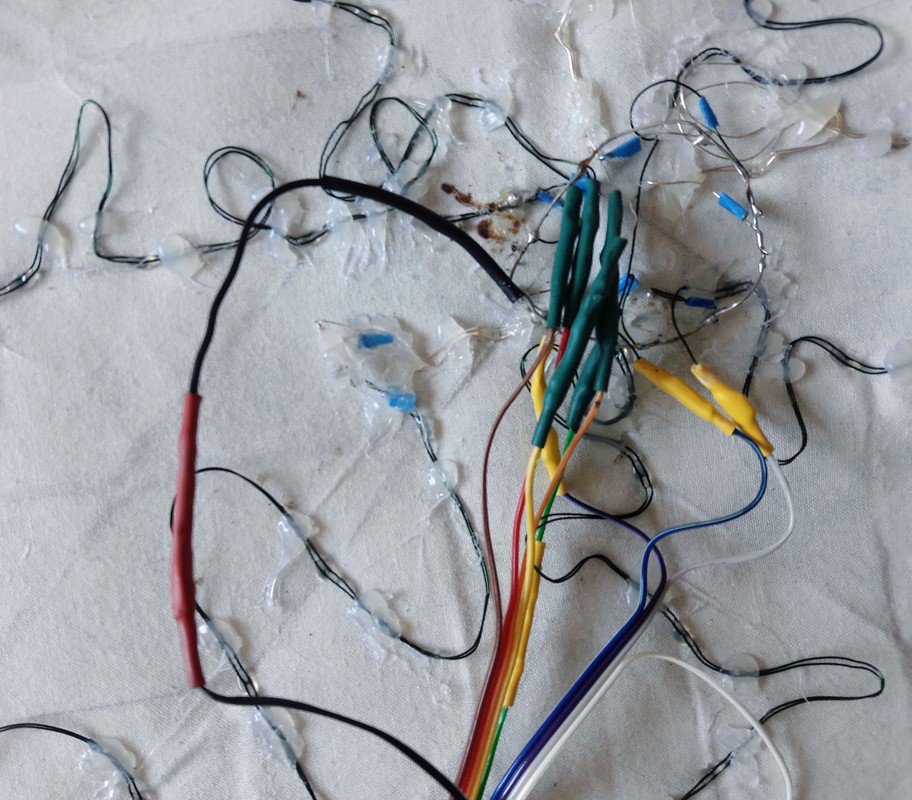
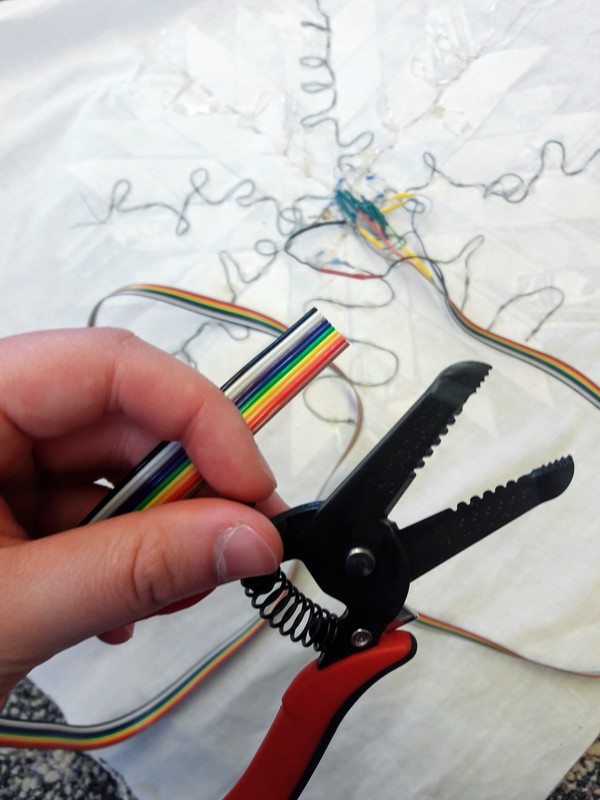
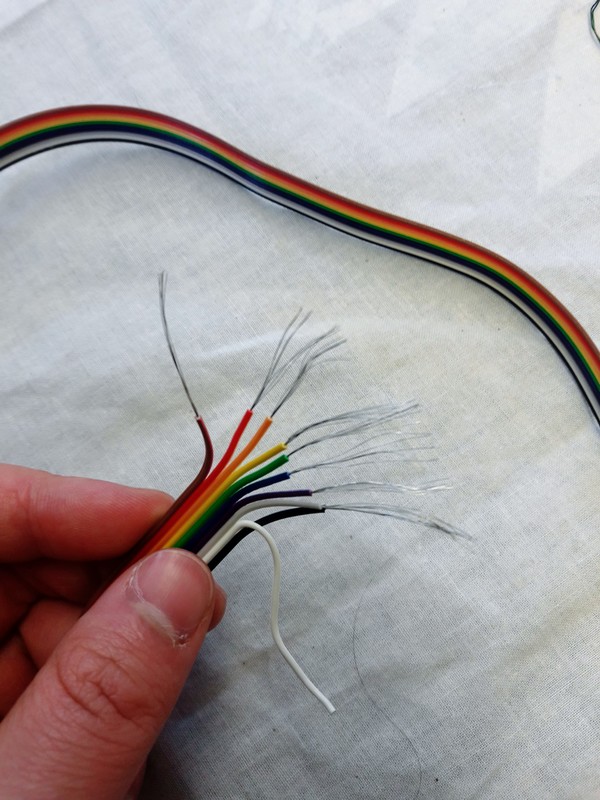
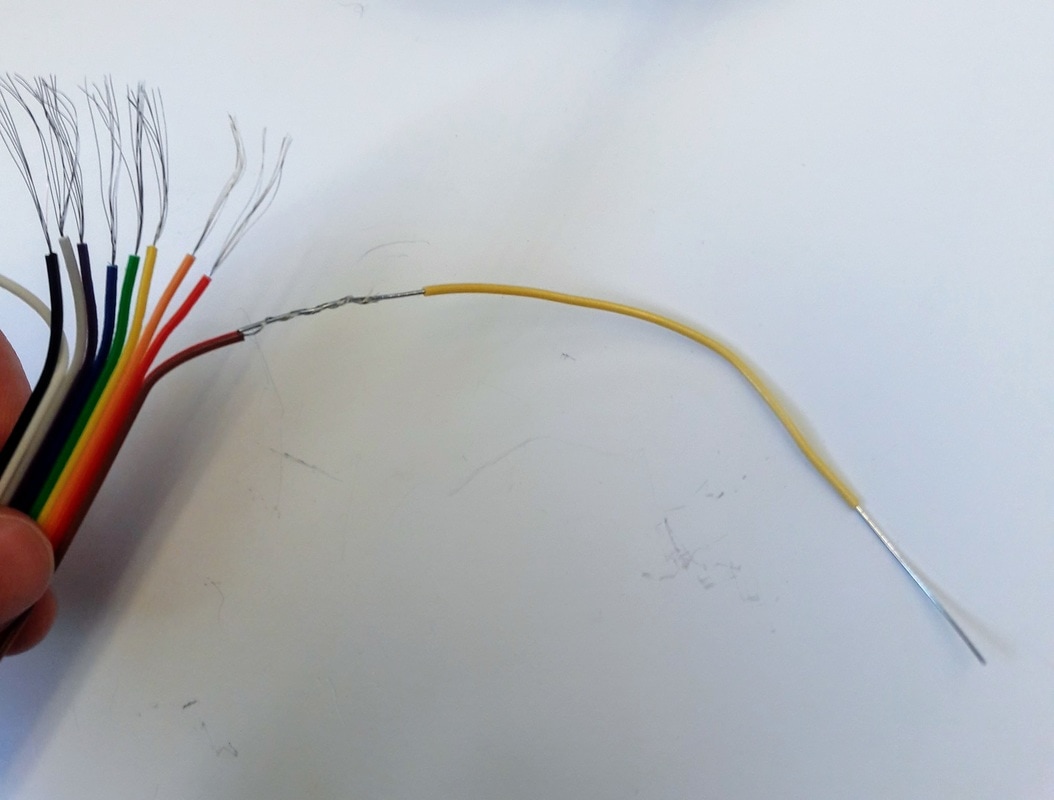
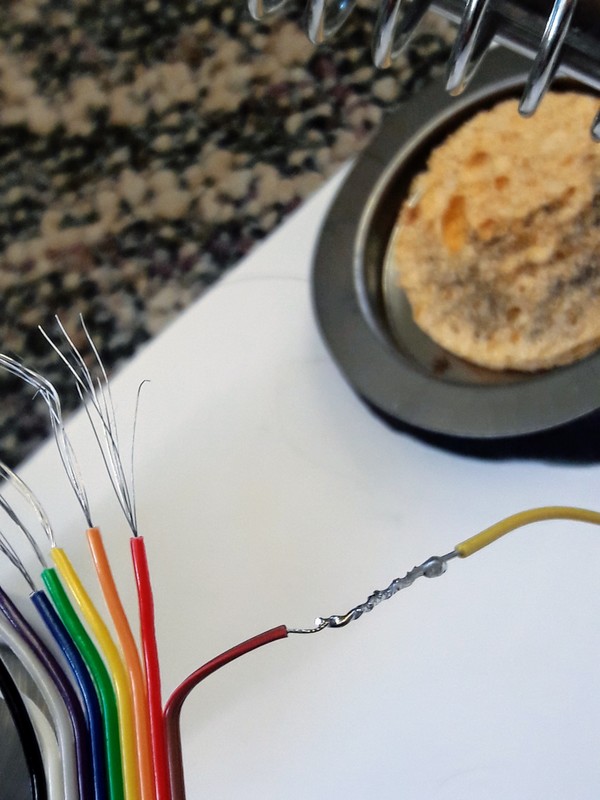
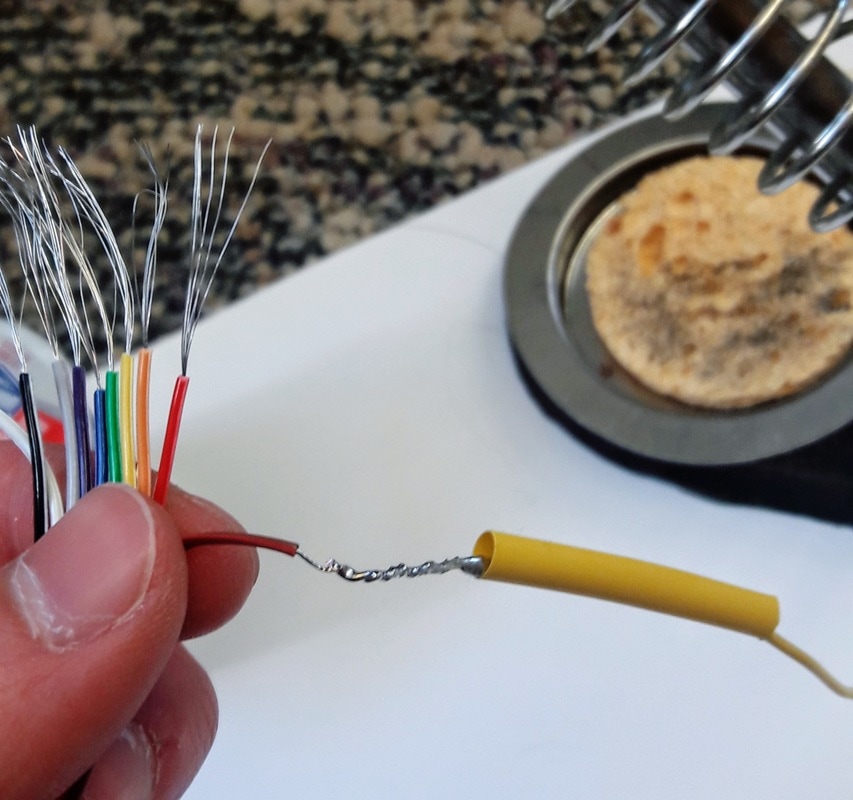
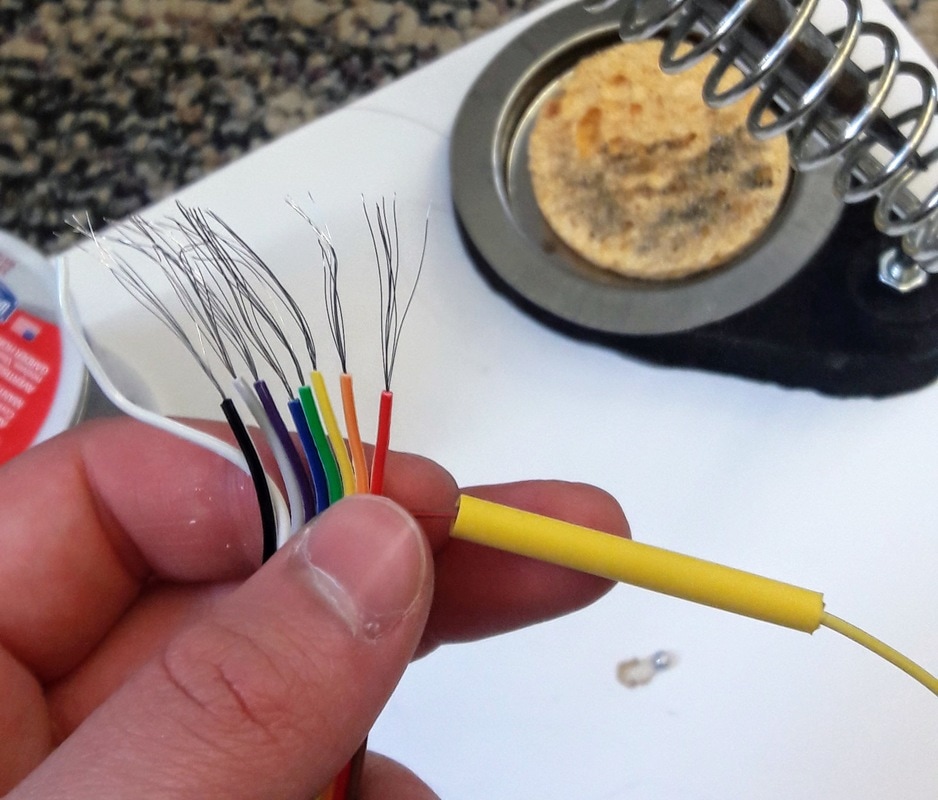
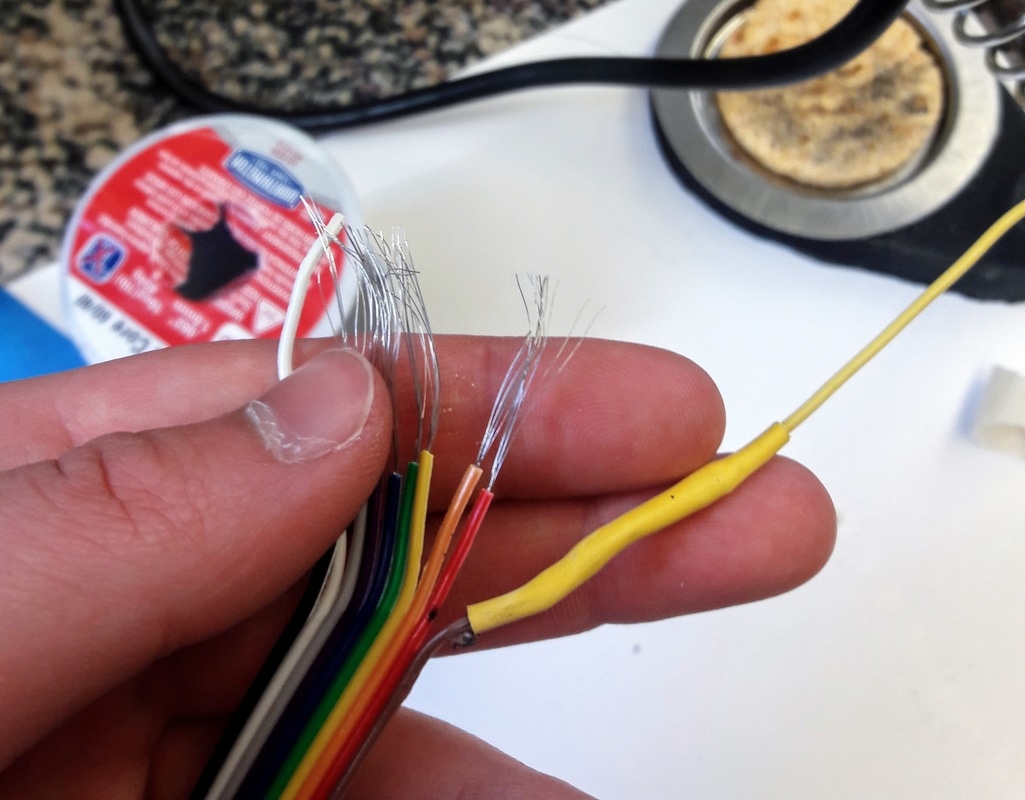
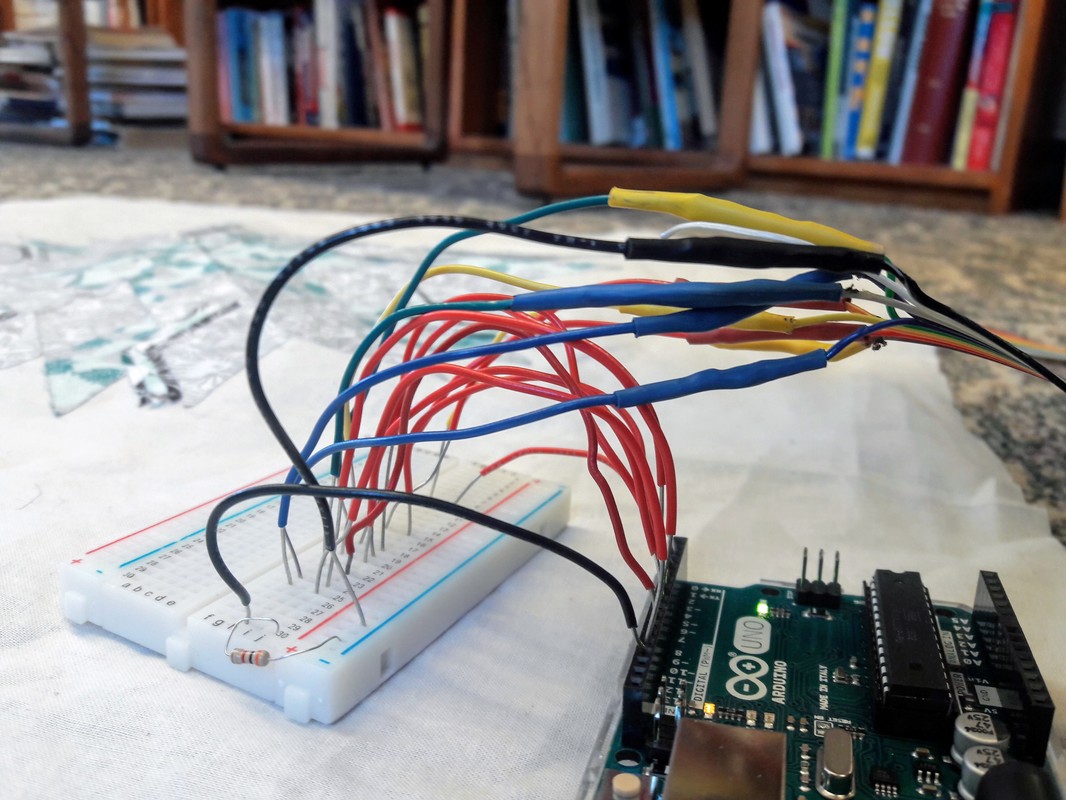
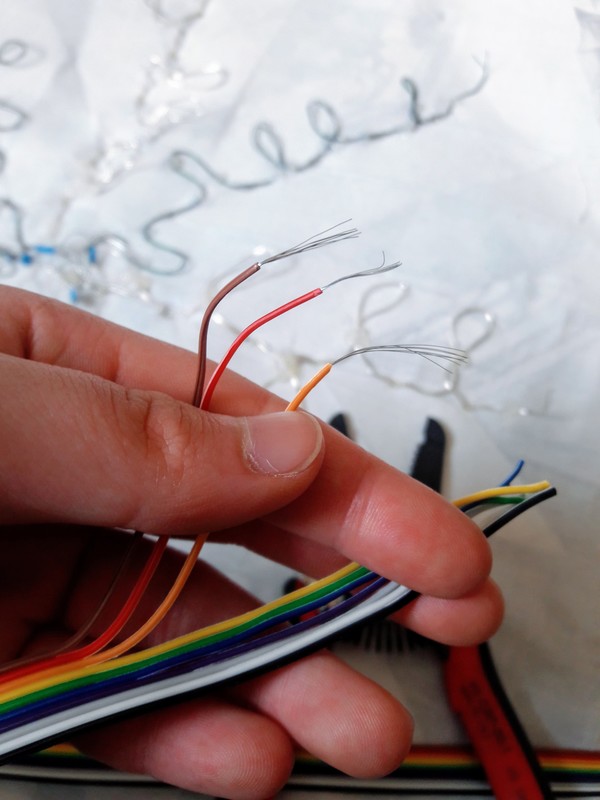
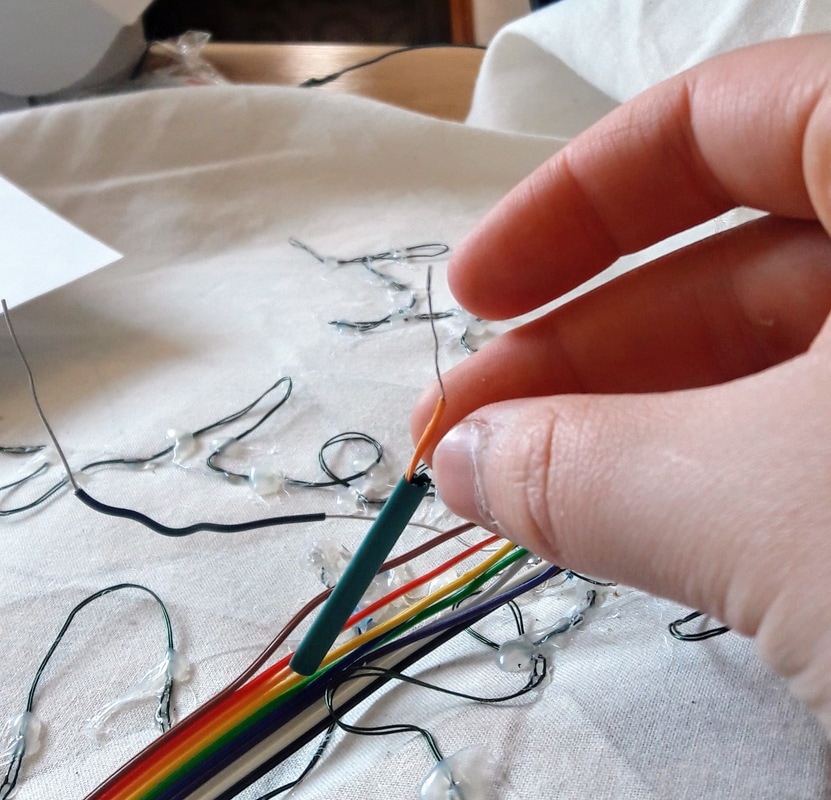
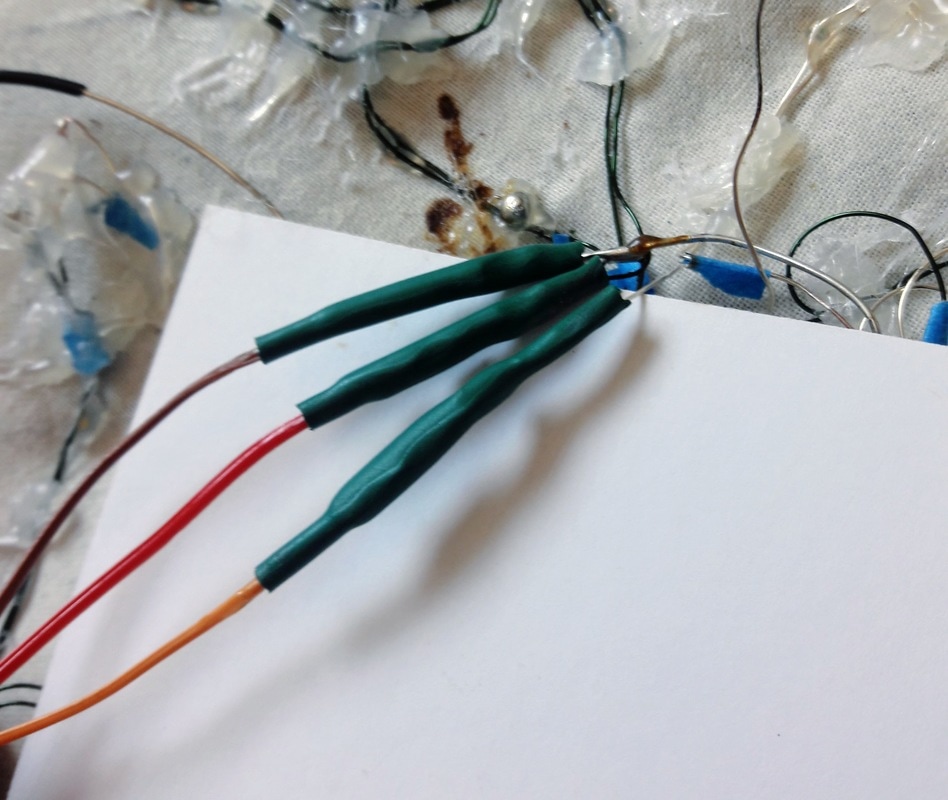
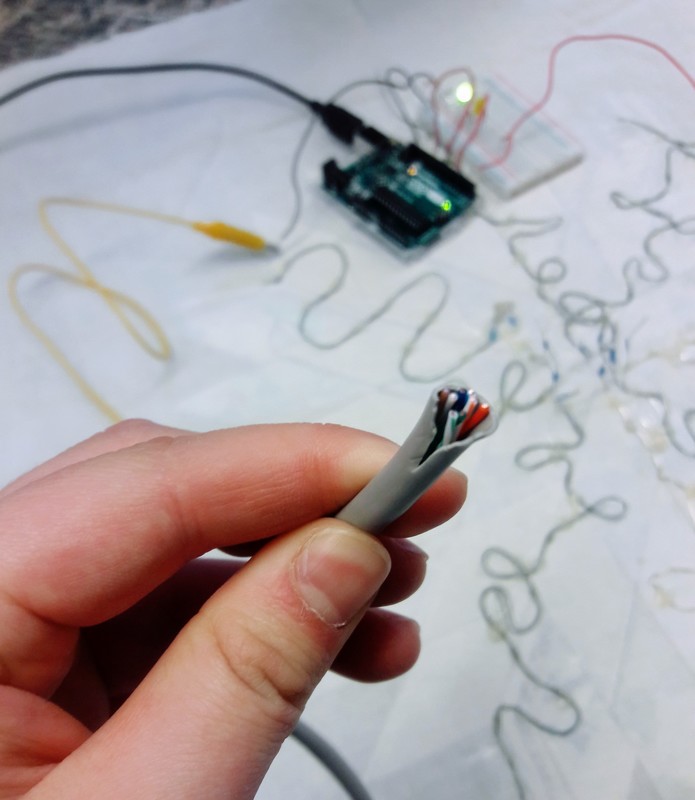
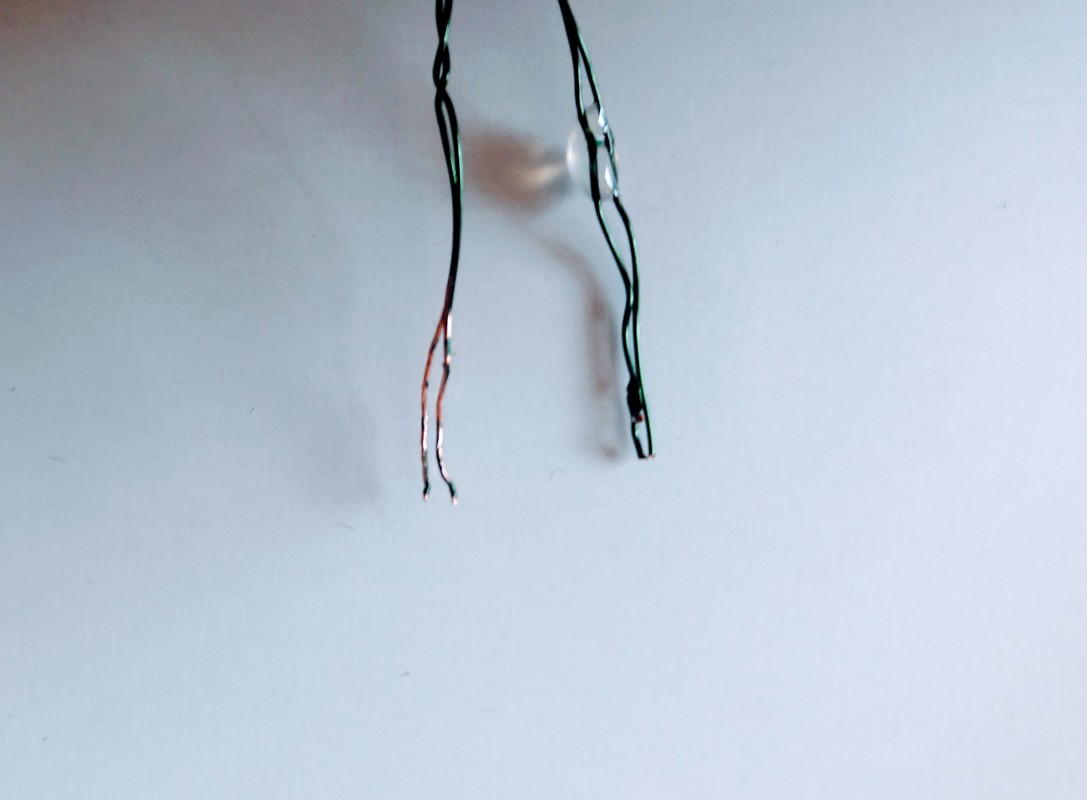
Connecting the quilt to the Arduino!Last week, I attached the ribbon wire to the quilt. Now, I have to connect the ribbon wire to the Arduino. I followed steps very similar to what I did last week. The ribbon wire is multistranded. I need a solid core wire to connect to the Arduino. I soldered the ribbon wire to a solid core wire to solve this dilemma.
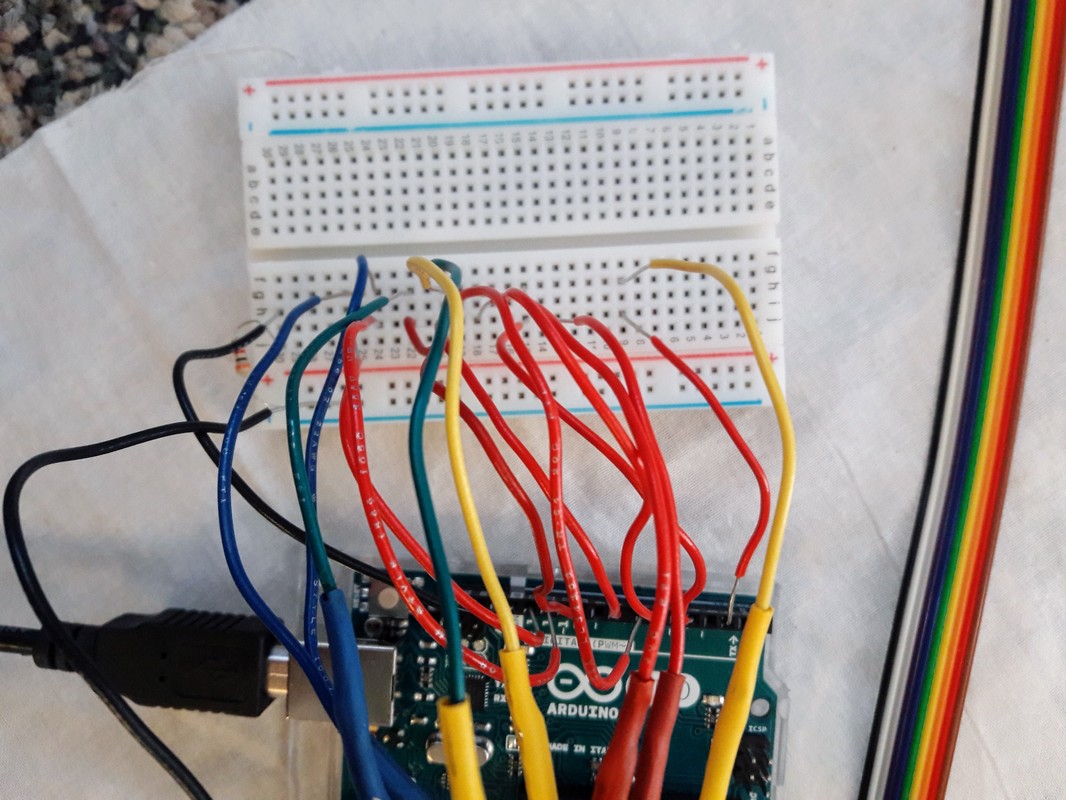
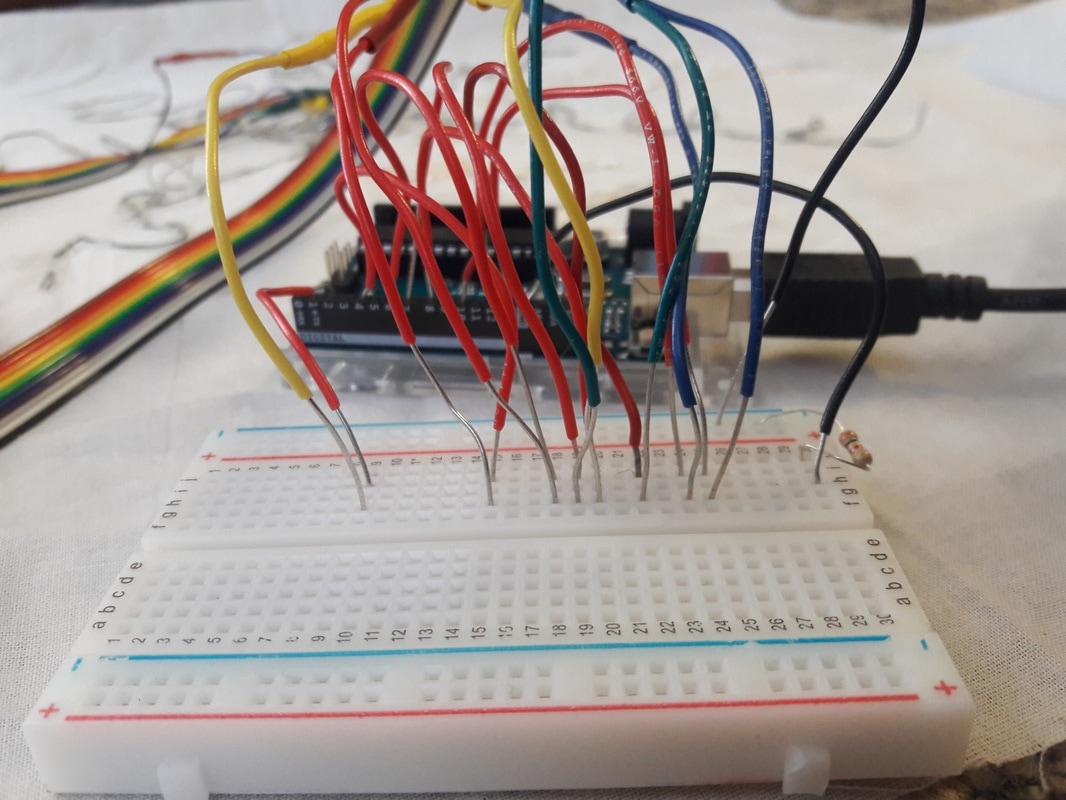
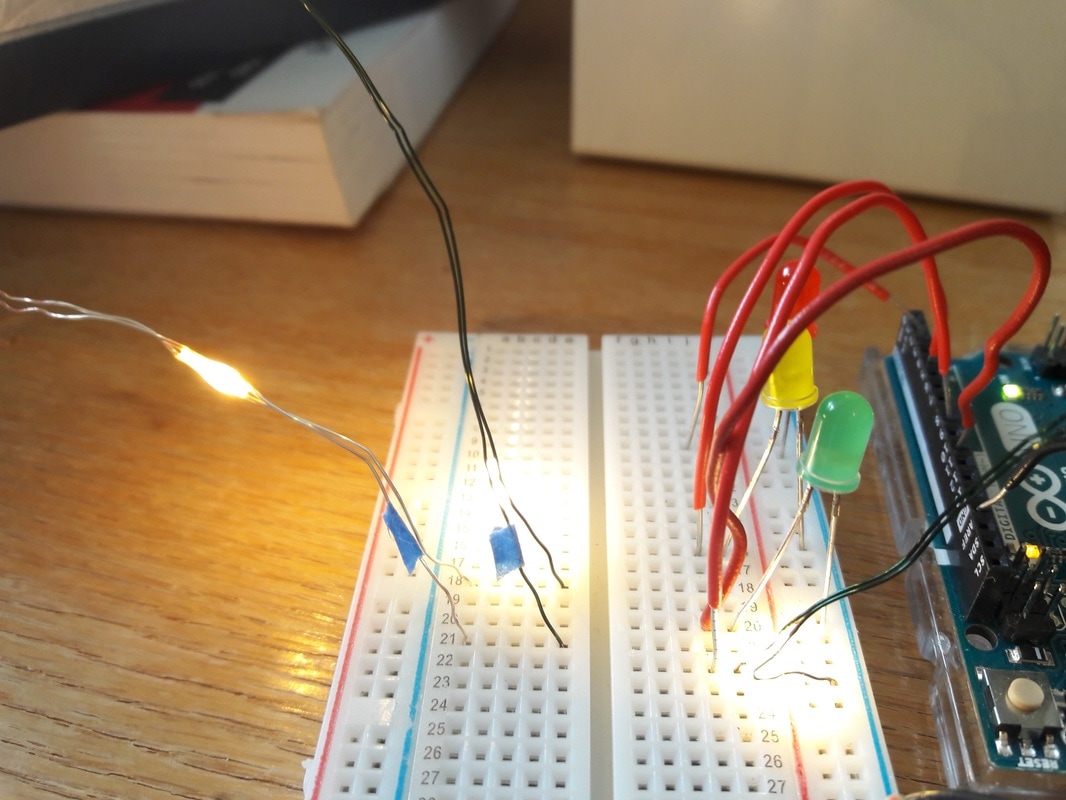
Next, I connected all of the wires to the Arduino. This involved a lot of fiddling around to make sure that the LED strings would light up in the order that I wanted them to. I also had to edit the code so that it involved 8 lines of LEDs. Eventually, I got it to work!
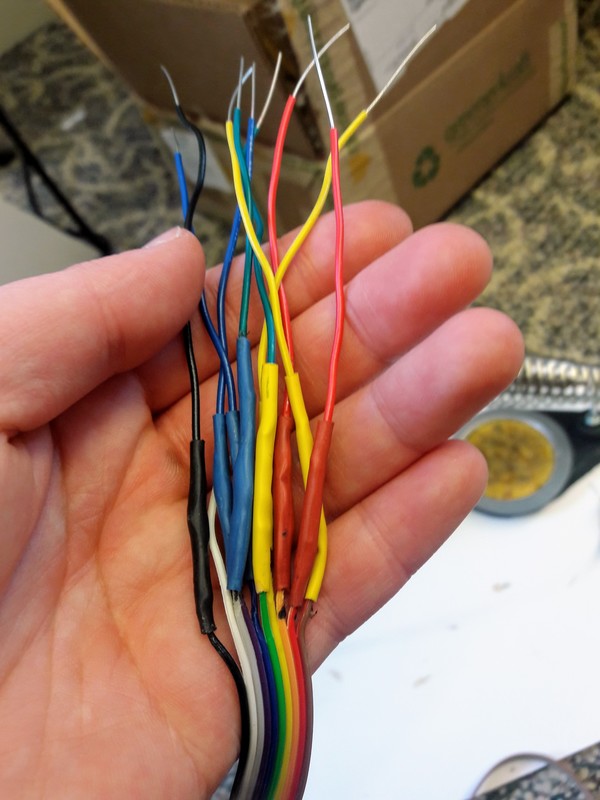
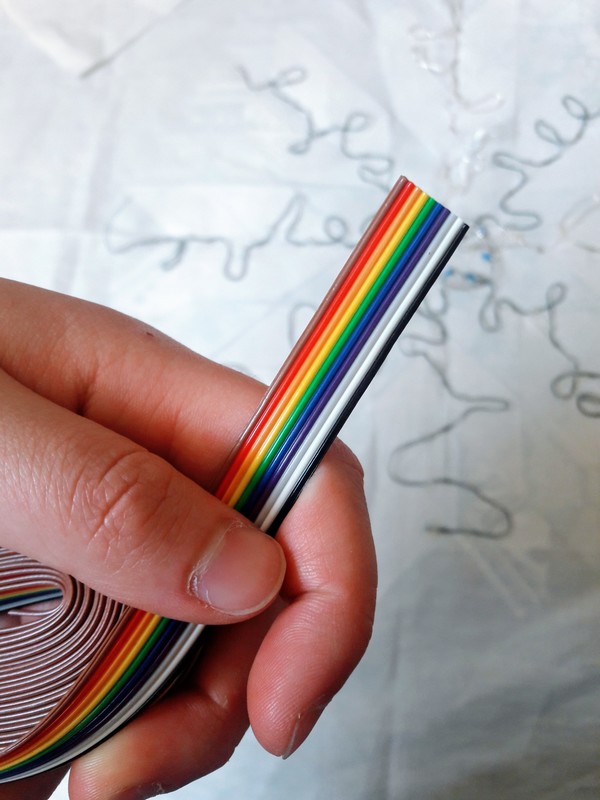
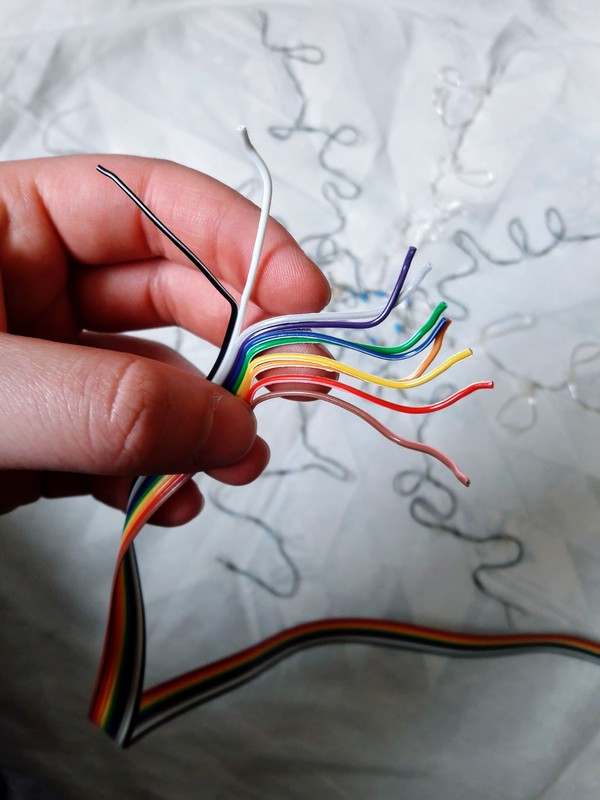
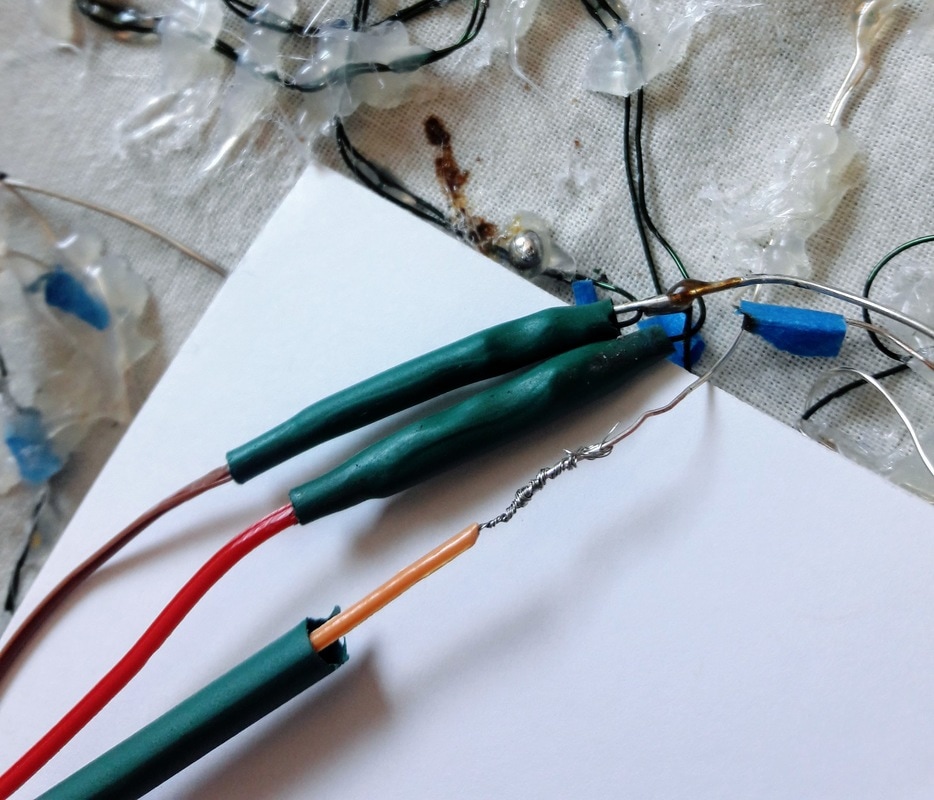
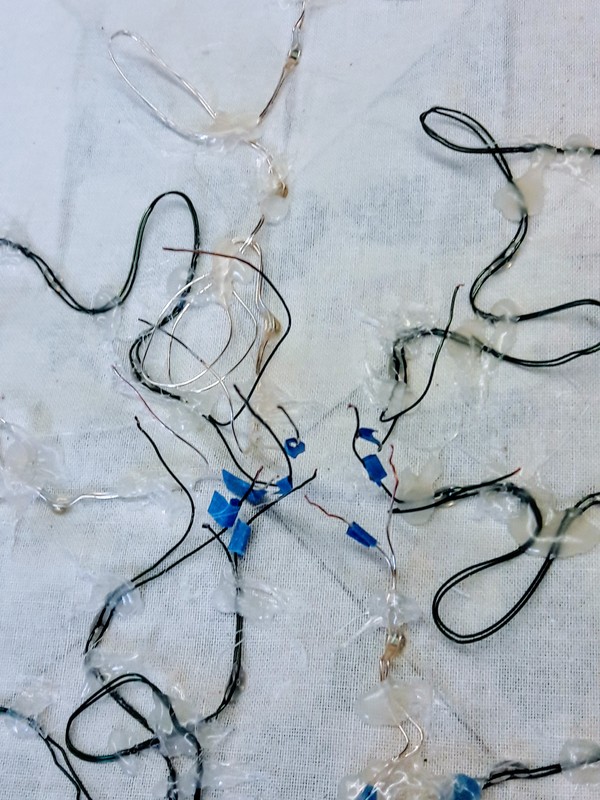
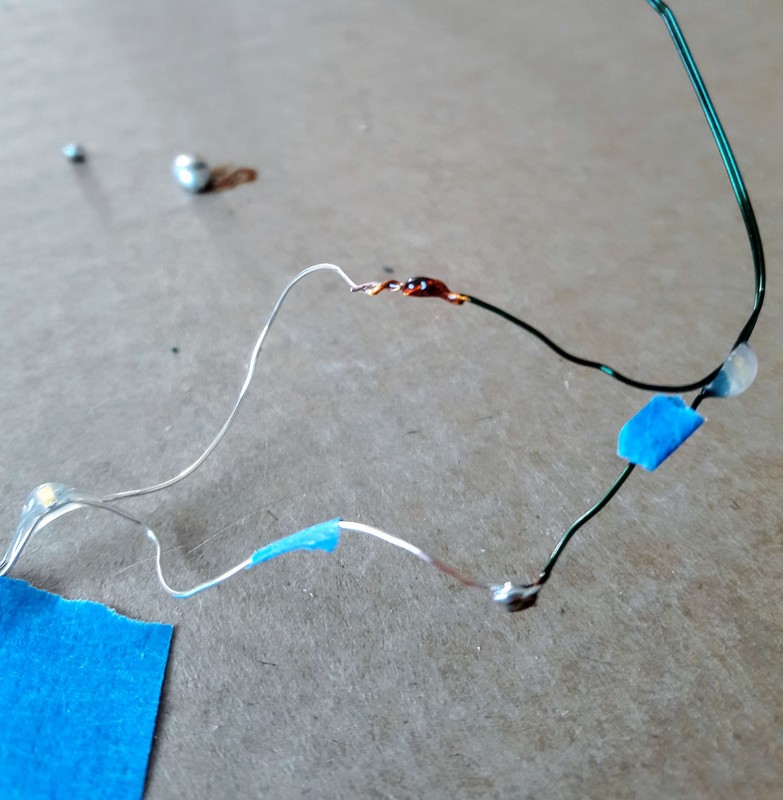
Connecting to the ribbon wireLast time, I connected all of the negative wires. Today, I worked on connecting both the negative and positive wires to a ribbon wire, so that all of the wires could be together. Attaching everything to the ribbon wire will make it easier to hook the quilt up to the Arduino.
 Looks pretty crazy!
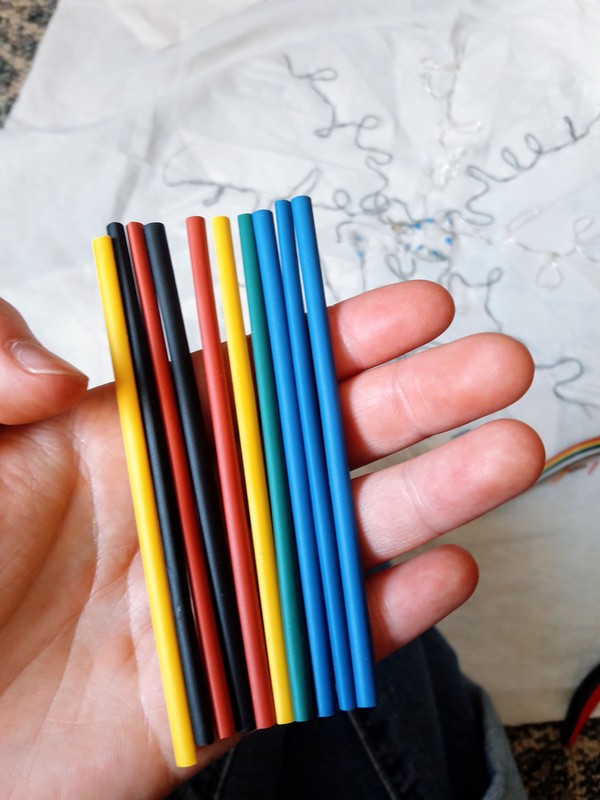
The positive wires are the ones with the green and yellow heat shrink tubing. The ground wire (that I connected all of the negative wires to last time) is the black and red wire on the left. Next time, I'm going to connect everything to the Arduino and hopefully light up the quilt! Interview with Audrey & Ron! How did you get started / what inspired you to create CSDTs and lesson plans? I wrote the book “African Fractals” (watch the TED talk for more about that) thinking that it could introduce African math and computing concepts in the classroom. But teachers did not seem to see any way to include that material in their lessons. So the CSDTs were created as a way to bridge the gap between the indigenous ways of representing those concepts, and the classroom way of representing those concepts. How do you decide on what cultural designs you would like to turn into CSDTs?
"The process of creating CSDTs begins with interviews with artisans, videos of their practice and “reverse engineering” of their designs; these are used to create a quantitative model that attempts, as closely as possible, to reflect the creative and technical processes of the artisans as well as the indigenous knowledge of their social context. This is important because simply imposing computational thinking externally would not have any impact on the myths of genetic determinism and might also detract from its effects on myths of cultural determinism. In the case of Native American beadwork, for example, we found that the concept of two orthogonal axes embedded in the rows and columns of the bead loom resonated with deeper cultural themes that were also organized by four-fold symmetry: native languages using base four counting; teepees made with four base poles; prayers offered to “the four winds;” etc. Interviews with artisans also revealed the use of iterative patterns; “up one over one” to create a 45 degree angle for example. The resulting model – iterative patterns on a Cartesian grid – is not necessarily something a traditional beadwork artisan would immediately tell you (in fact most artisans begin these discussions with something similar to “it can’t be explained, you just have to learn it with your hands”). But neither is it merely imposing alien What inspired you to make a quilting CSDT?
I love the folk art of quilting and knew that there was a strong quilting tradition in African-American culture. We conducted research and discovered the rich algorithmic content in African-American quilting tradition called Gees Bend. We also discovered similar computational thinking in Native American and Appalachian quilting. As we explored the computational side, that encouraged us to learn more about its social justice dimensions as well. How do you see these projects & your work developing in the future? In addition to expanding the free software, we are working towards disseminating the material forms of our CSDT curriculum by creating toolkits that can be purchased online by schools, school districts, teachers, and families. I did not attend my internship today because I had a field trip and Audrey was unavailable.
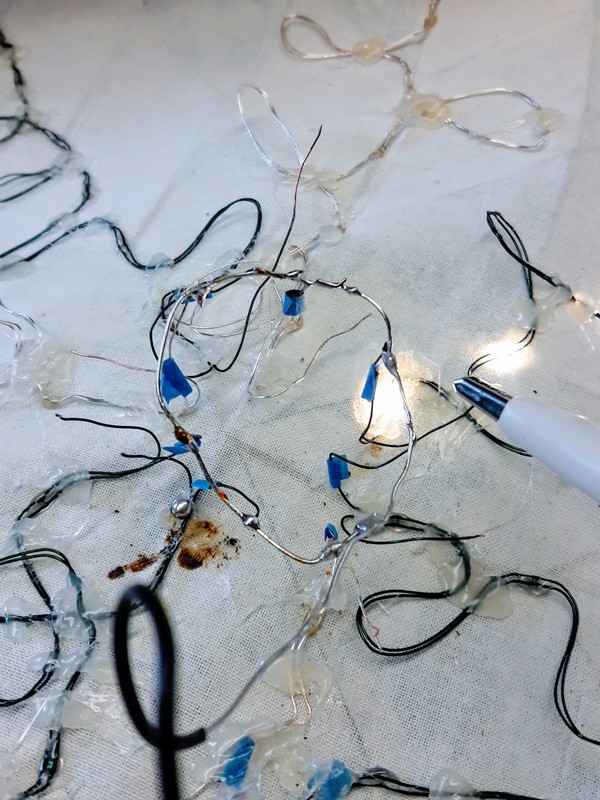
Connecting the negative wires
Today I spent most of my time soldering the negative wires together, which required a lot of patience. First, I cut a piece of ground wire. I made a loop with this wire and then placed it on the negative ends, which I marked off earlier with blue tape. I then used lead to solder the the looped wire and each individual negative wire together. After I finally finished doing this, I tested how sturdy the electrical connection was using alligator clips. The quilt wires lit up, so I know my soldering was done well. I then pressed down on the negative loop that I had made very gentle. This made me a little nervous because I was afraid that I would break the connections that I had just soldered. We decided that the loop needed to be flat on the quilt because it would make the electrical connections safer when the quilt is on display. The wires sticking up in the picture below are all of the positive wires. Next time hopefully I will connect everything to the cord I picked out from my last session. 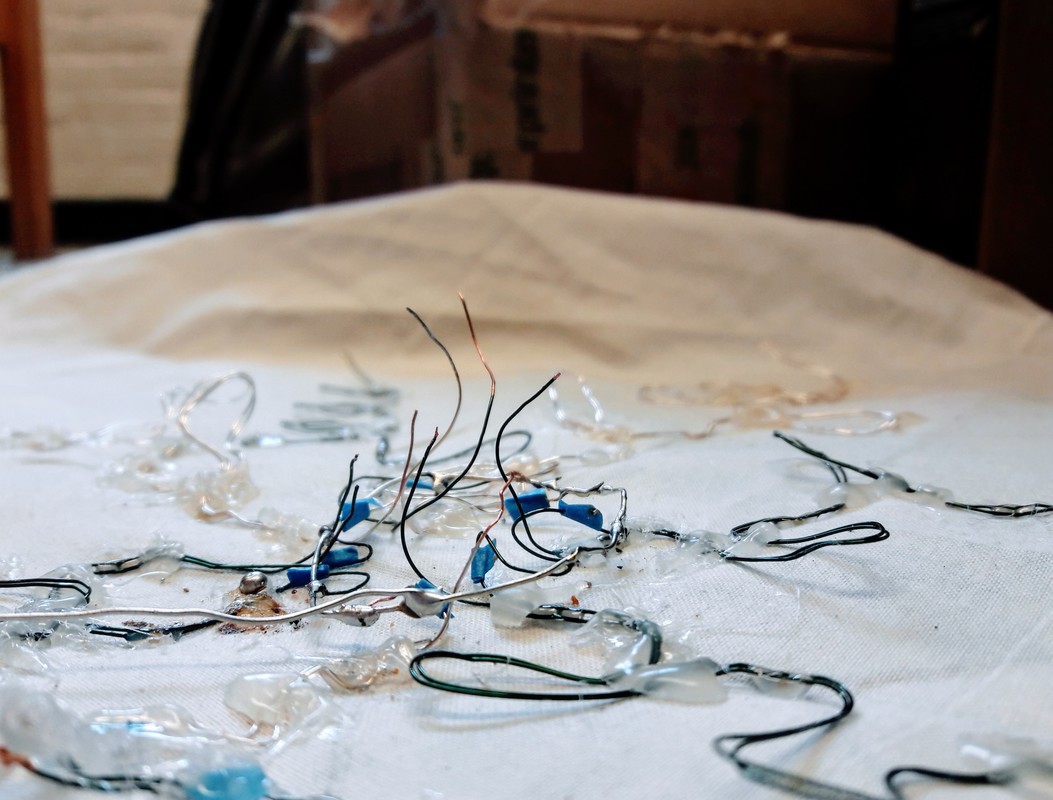
I did not attend my internship today because I was away on spring break.
I did not attend my internship today because I was away on spring break.
Checking the electrical flowToday I finished gluing down all of the bulbed wires, including the one I soldered from last week. 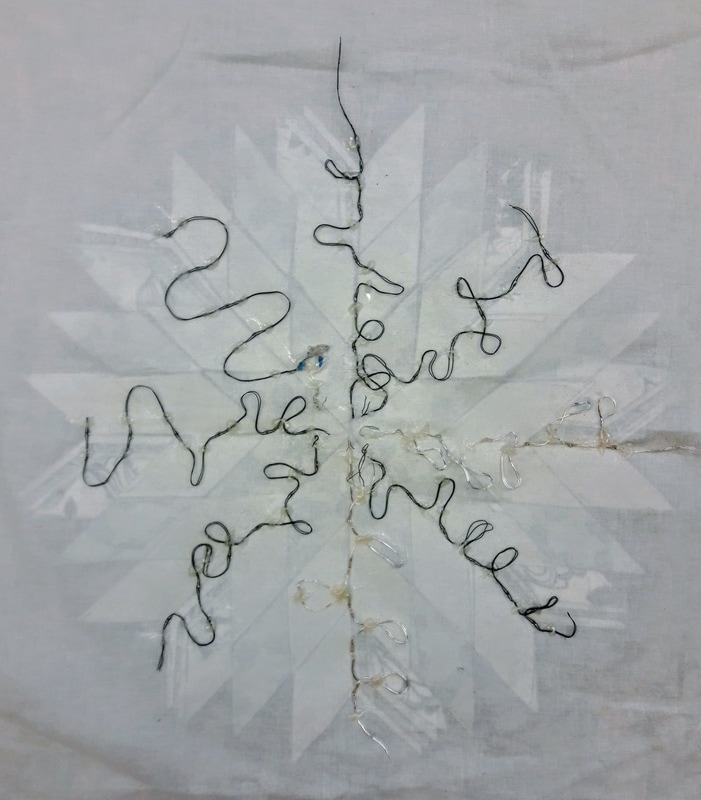 I then went through each wire to make sure that all the lights lit up. I did this with the assistance of some alligator clips (pictured below). The yellow alligator clip connected to GND on the arduino while the red alligator clip connected to the bread board. All of the bulbs lit up! Success! 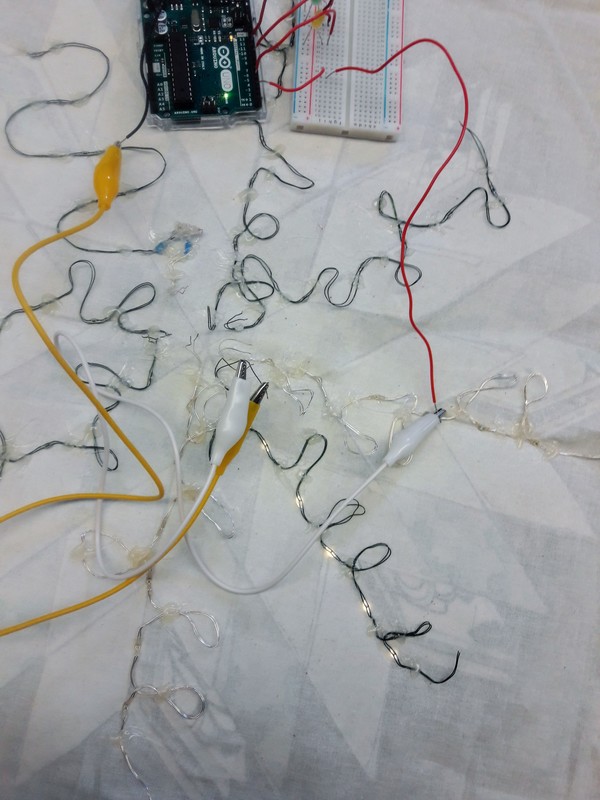 After I checked all of the wires/bulbs, I curved all of the wire ends upwards. My next task is to connect all of the negative wires together. But before I do that, I need to come up with a game plan. 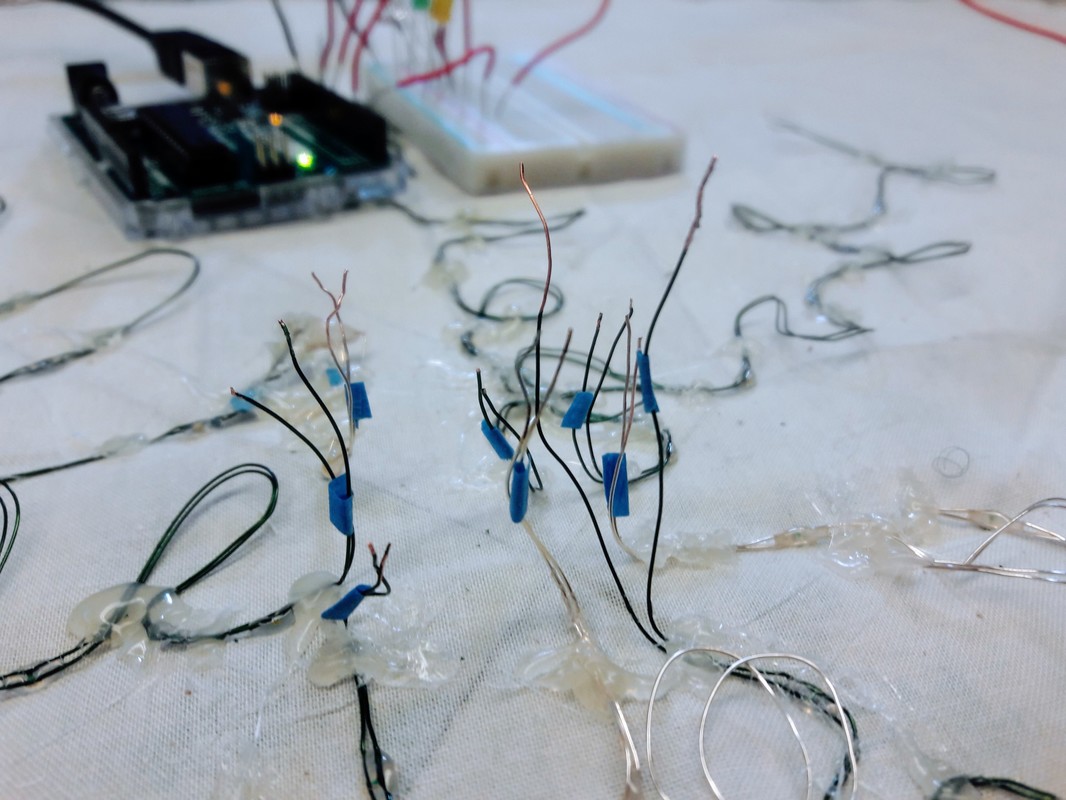
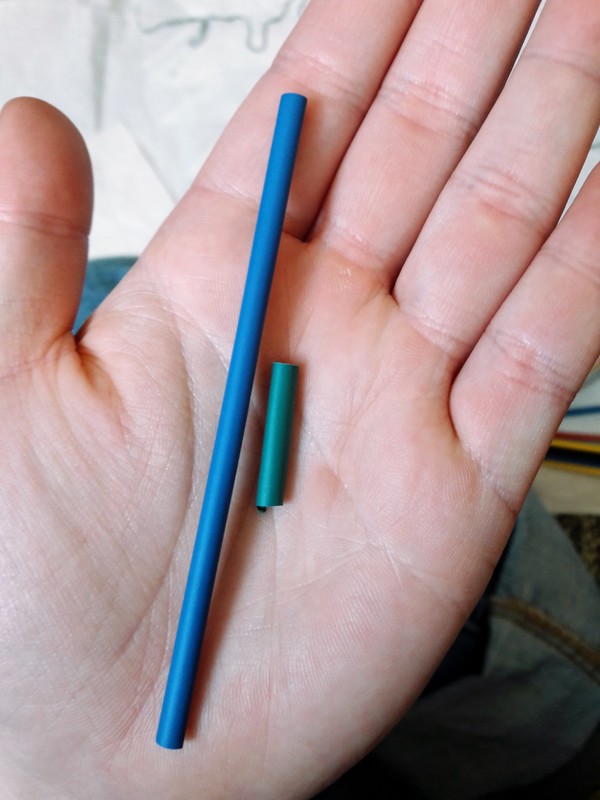
There are only 8 wires, when in fact we need 9 wires. (8 for the positive wires and 1 for all of the negative wires.) We will probably wrap an additional wire around the cord to address this issue.
Next time I will work on connecting all of the negative wires. Soldering to create an 8 bulb wireToday I spent part of the time continuing to glue the wires to the quilt... 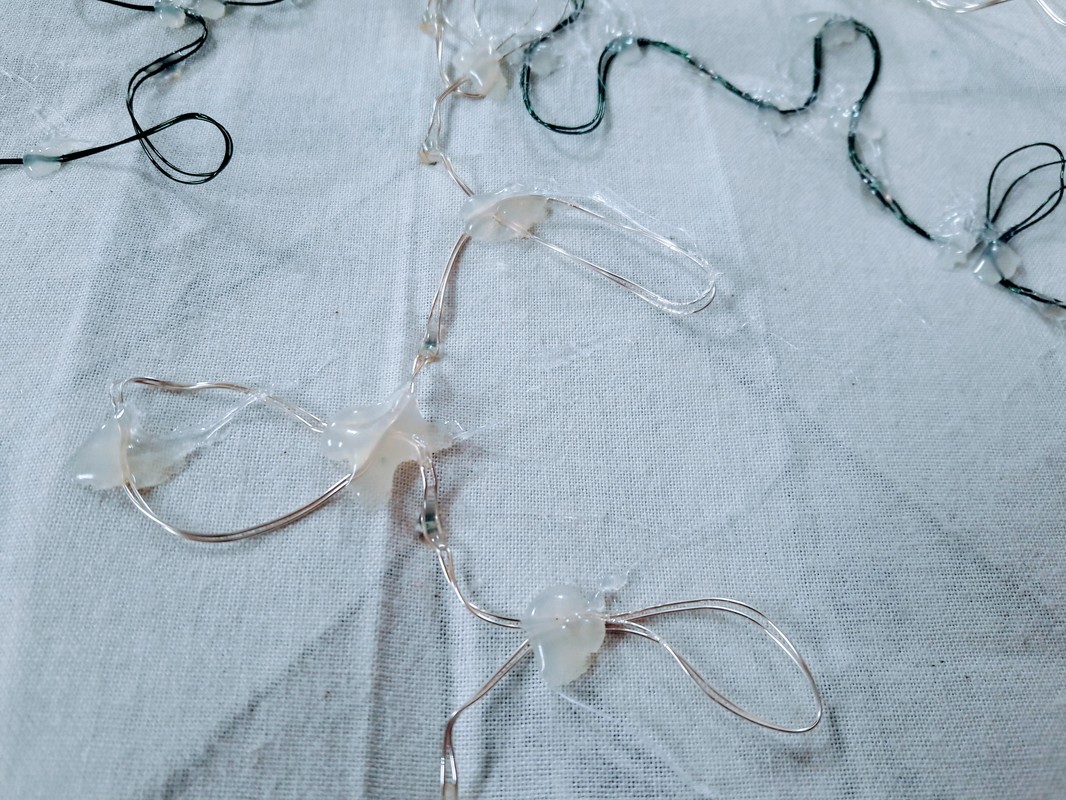 ...and the rest of the time trying to form a 6 bulb wire.
First, I tried to use steel wool to shave off the insulation, but it wasn't strong enough to complete the job. I ended up using the blade of a small pair of scissors to remove all of the insulation.
|
Select a page from the header above to learn more about my blog!Kimi. EWS. “The foundation of data gathering is built on asking questions. Never limit the number of hows, whats, wheres, whens, whys and whos, as you are conducting an investigation. A good researcher knows that there will always be more questions than answers.” Categories |

 RSS Feed
